
Installations
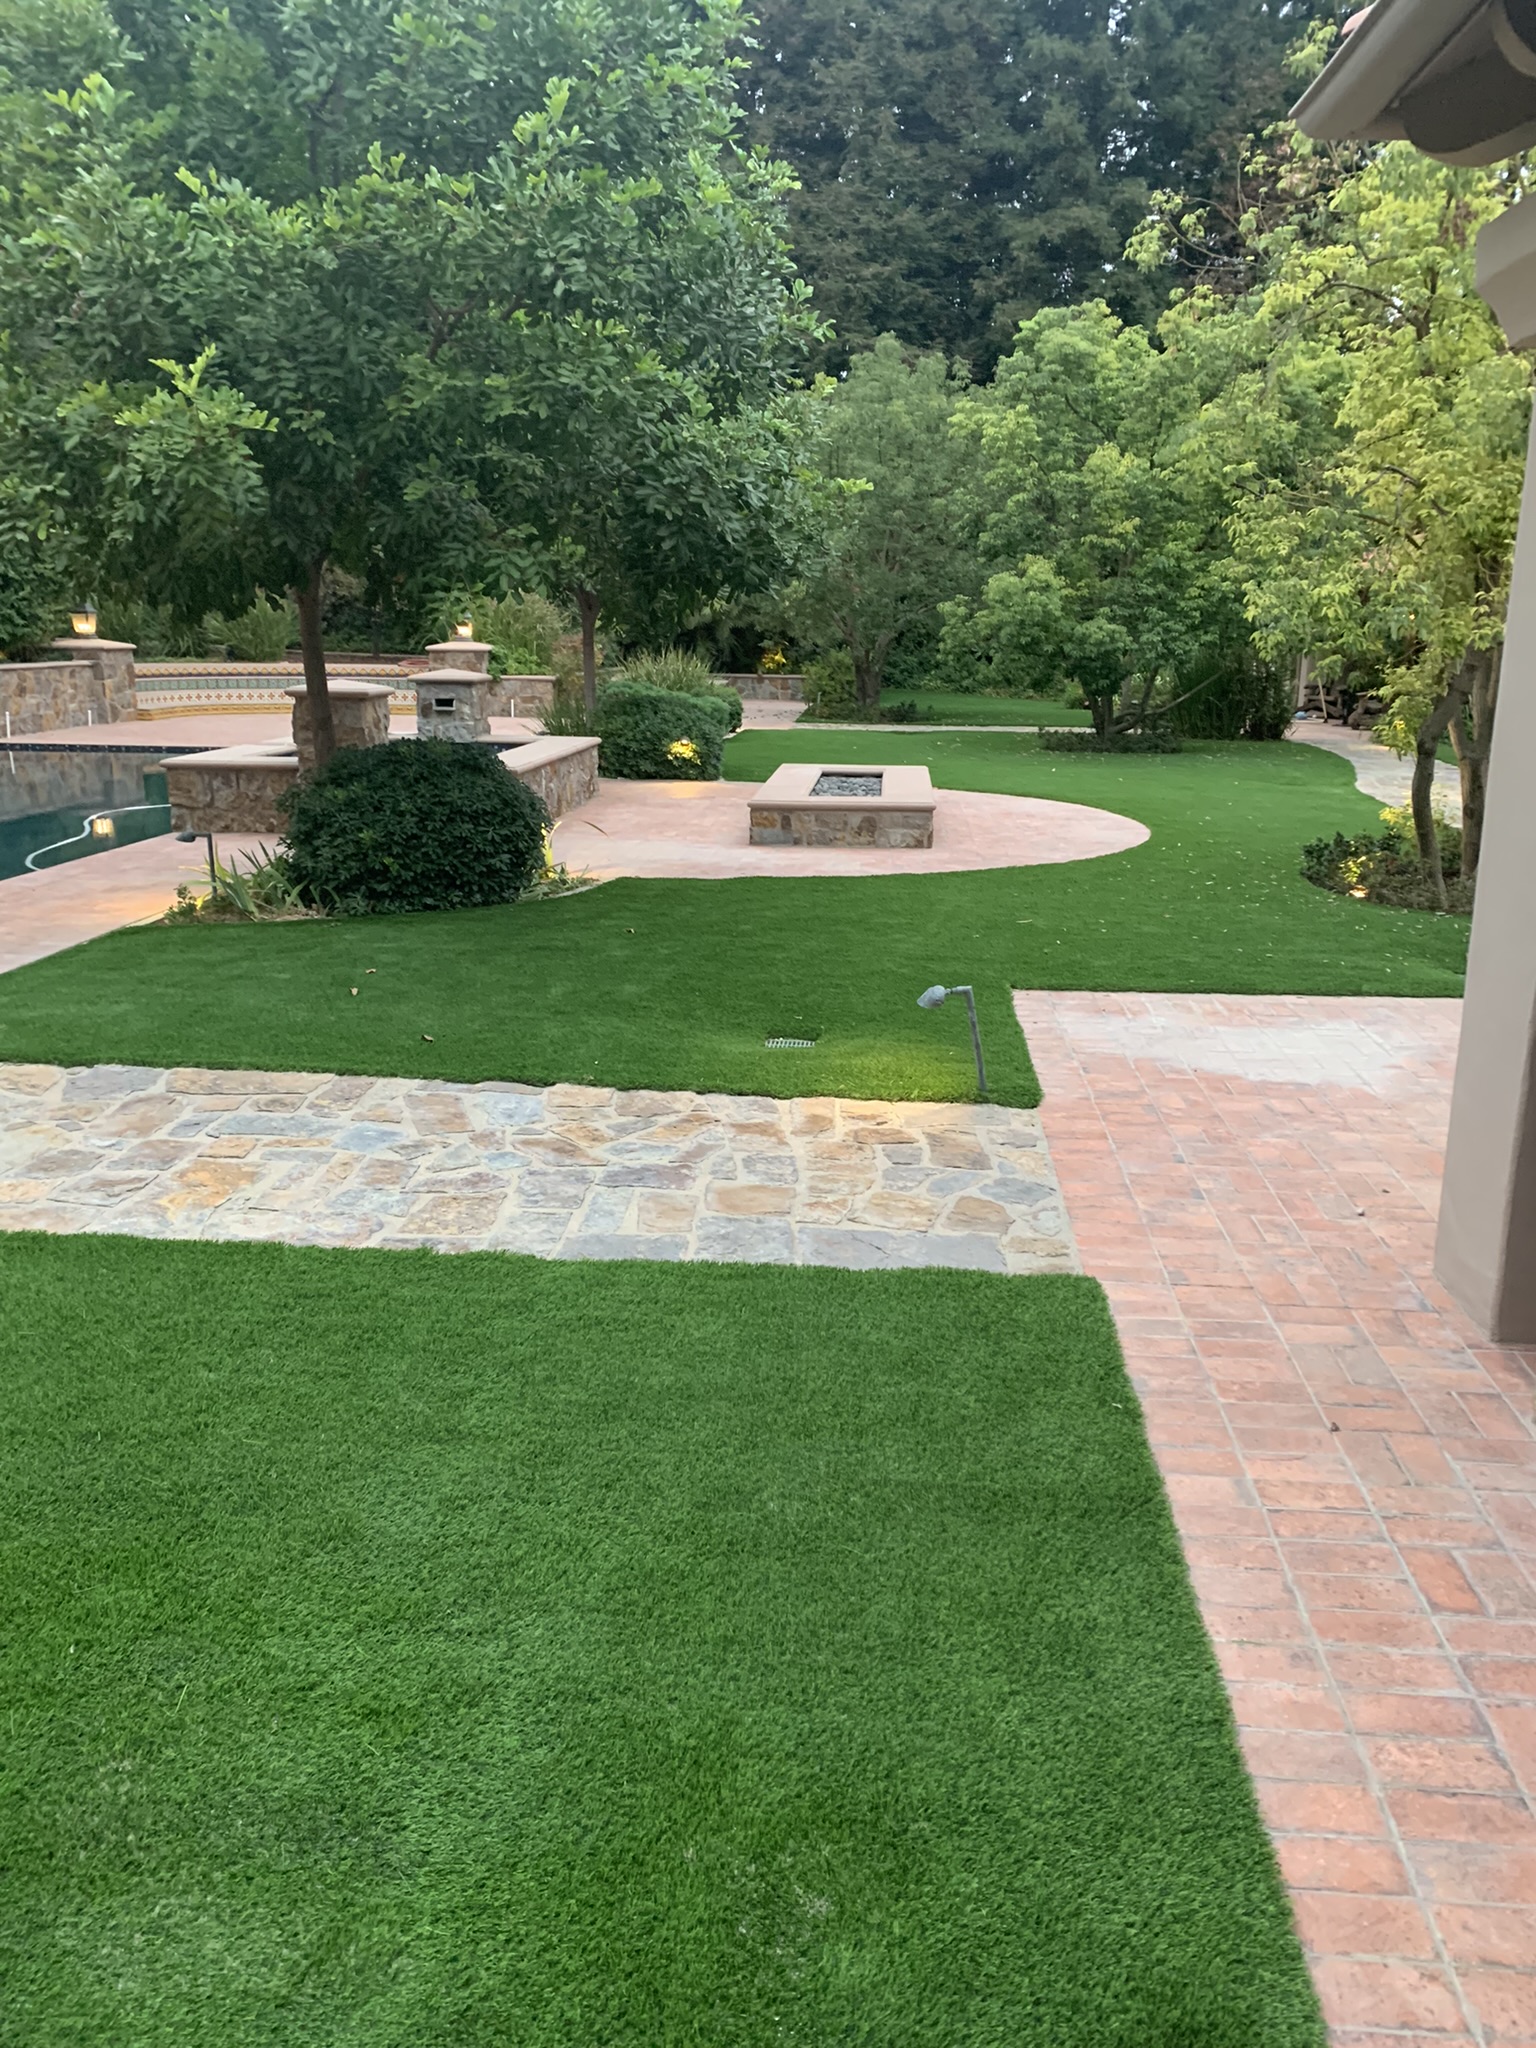
Turf Installation
Step by Step Installation
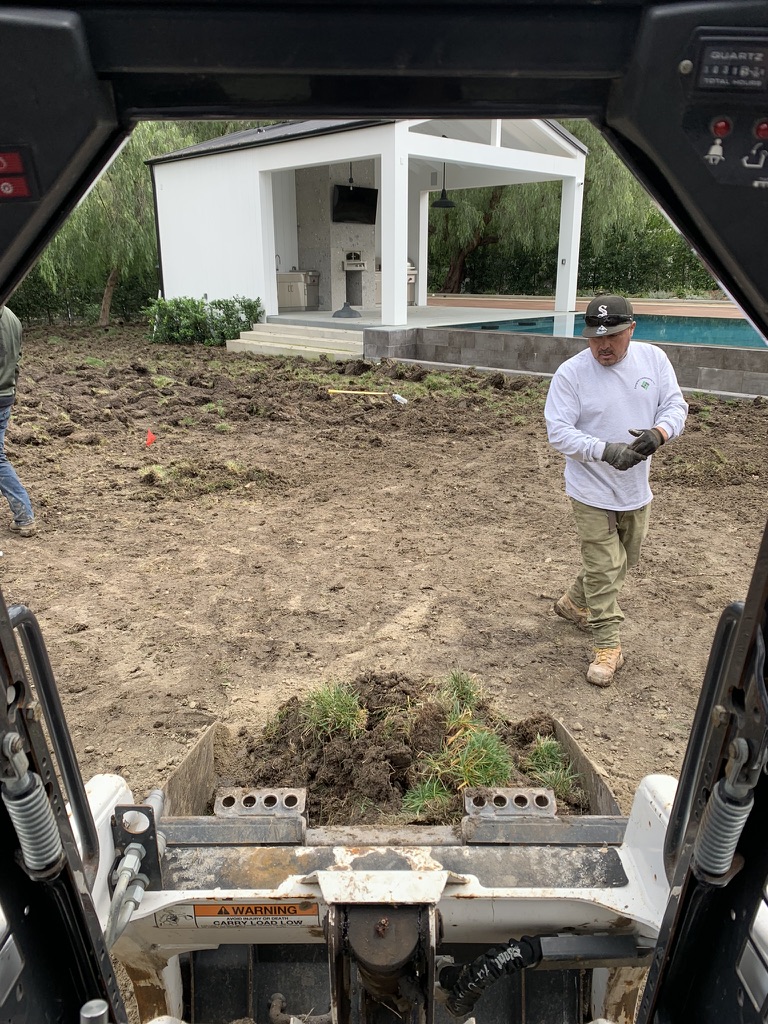
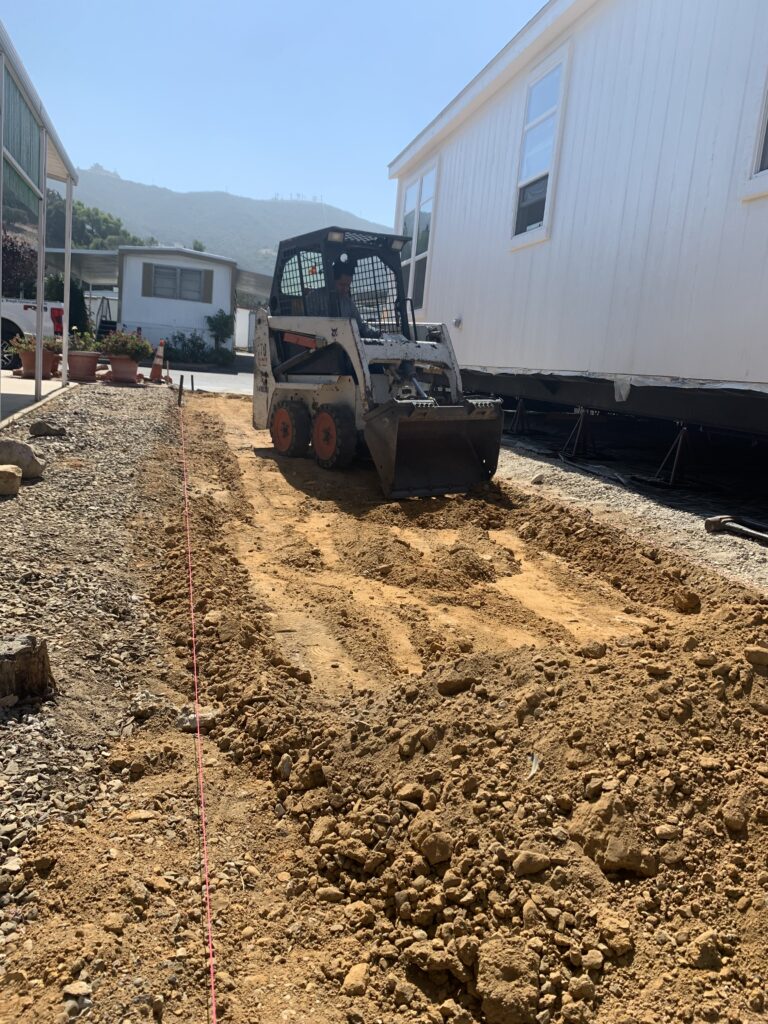
PRE-INSTALLATION EXCAVATION
The installation begins by removing the existing sod along with 3 to 4″ of underlying material, and individually capping each sprinkler within the field area. We cap every sprinkler individually to future-proof your lawn and irrigation system, preserving your options for any future changes.
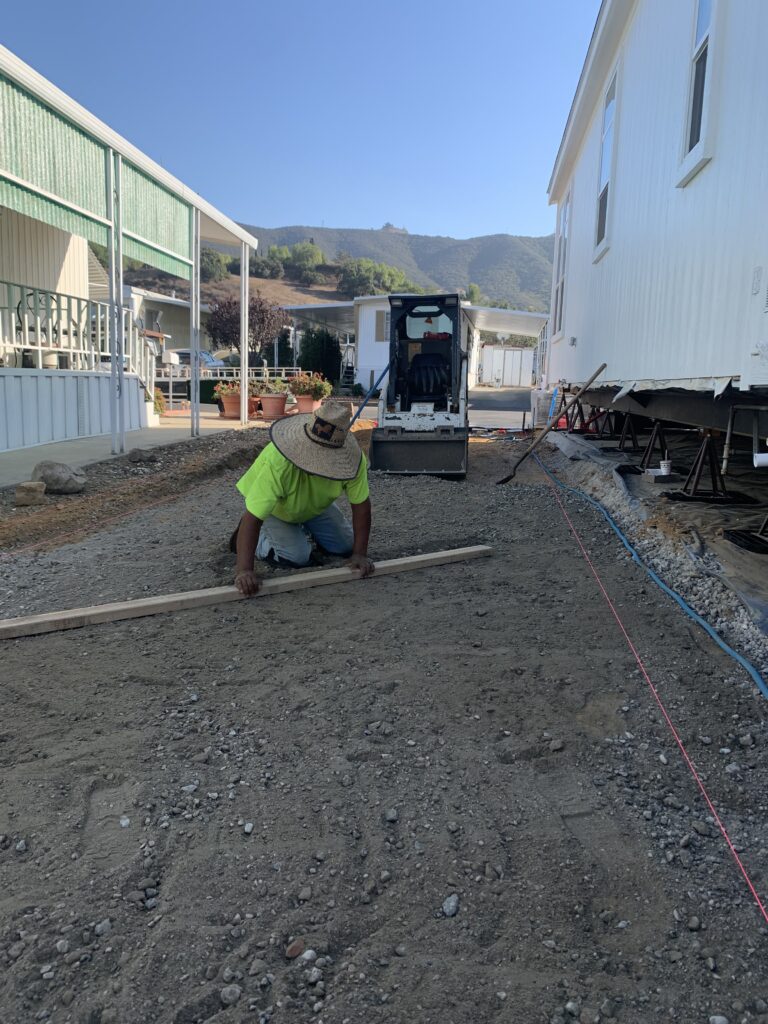
BASE PREP
Next, we prepare the lawn by establishing the correct planarity, slope, and elevations before compacting. Through careful fine grading and leveling, we ensure your turf drains properly for the life of the installation.
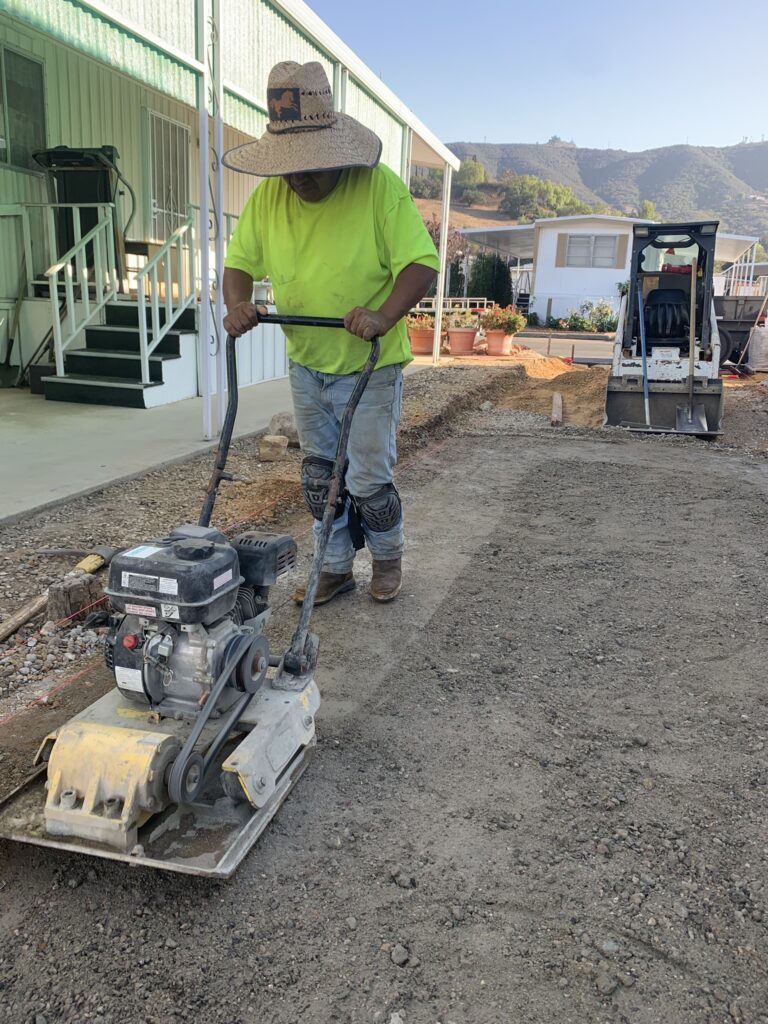
COMPACTING
We then bring in class II road base and compact the lawn to 95%, creating a smooth, properly prepared surface for the turf and installation materials. While most companies compact only once, Evergreen compacts twice to guarantee a sturdy, secure base beneath your turf.
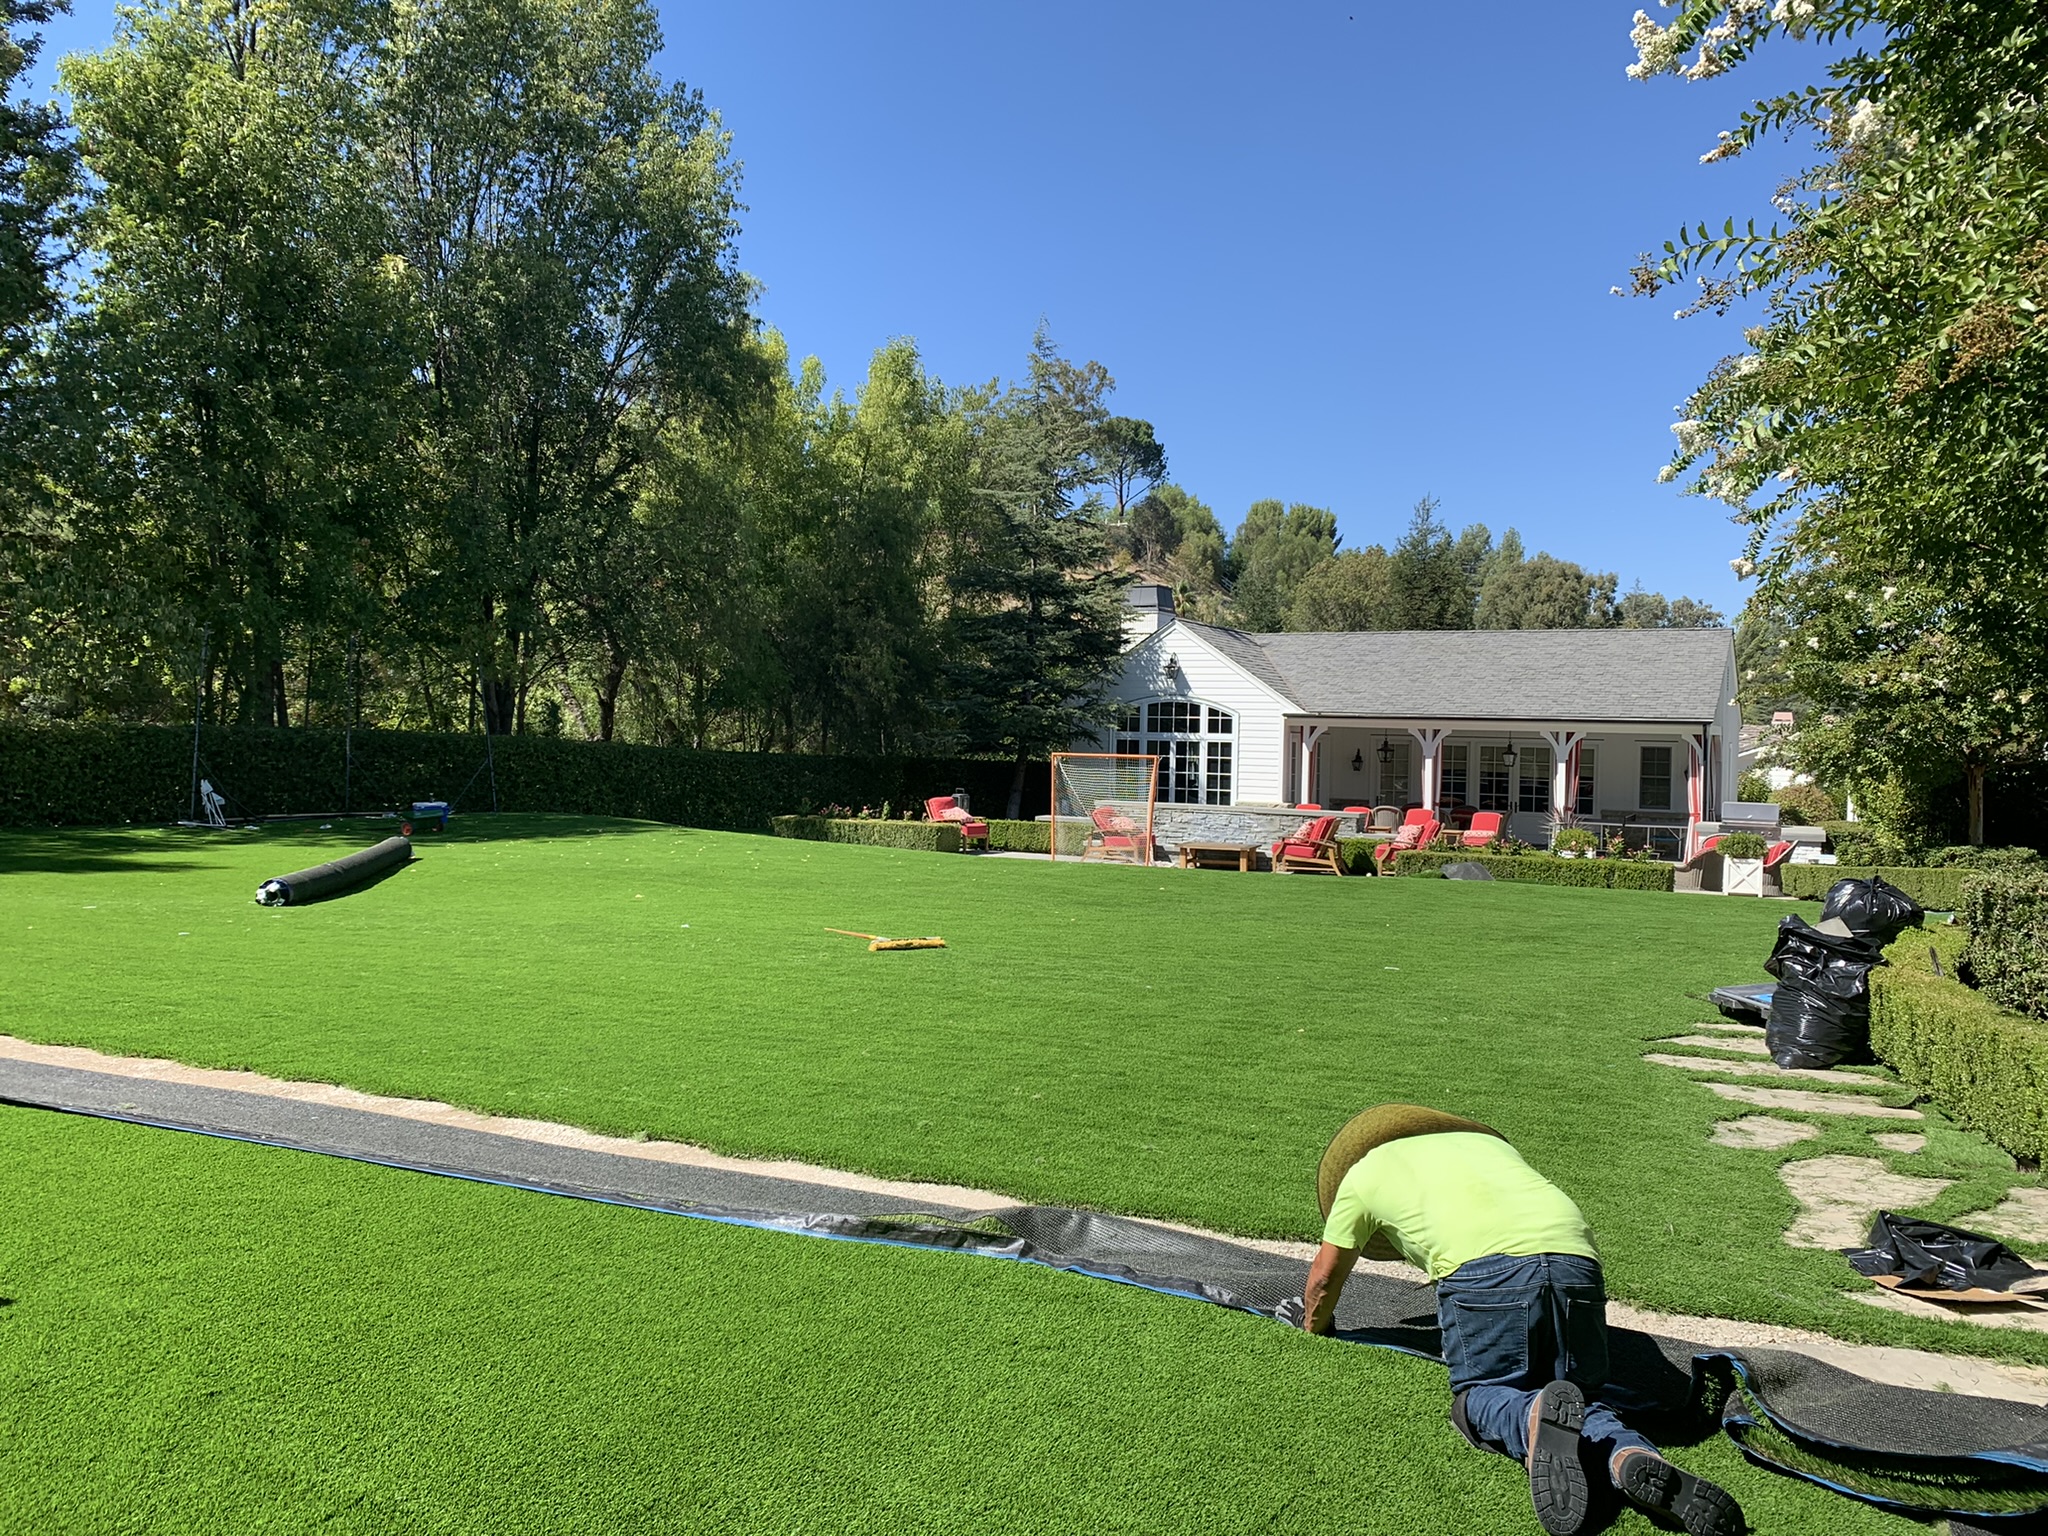
LAYING TURF
While steps 1 through 3 are underway, we lay the turf out in the sun so the backing warms and becomes more pliable. This allows us to stretch the turf taut with “carpet kickers,” ensuring a wrinkle-free finish once installed.
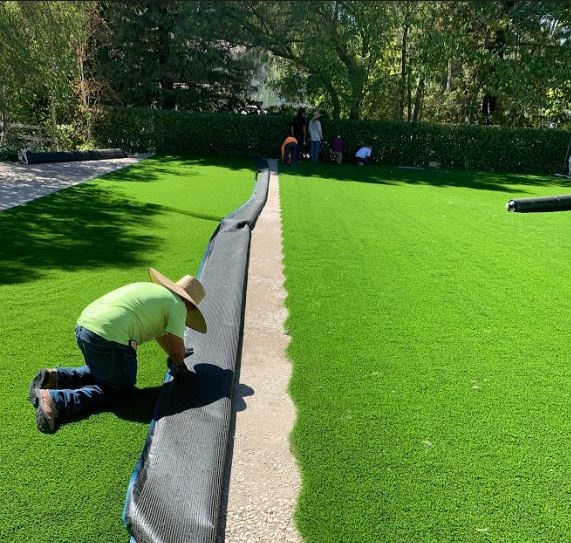
TRIMMING TURF TO AREA
The turf is cut precisely to the dimensions of your lawn, with every seam carefully planned to keep seams to an absolute minimum. Minimizing seams preserves a natural appearance and protects the longevity and integrity of the turf for years to come. We never use scraps or leftover material to fill smaller spaces, which further reduces the number of seams.
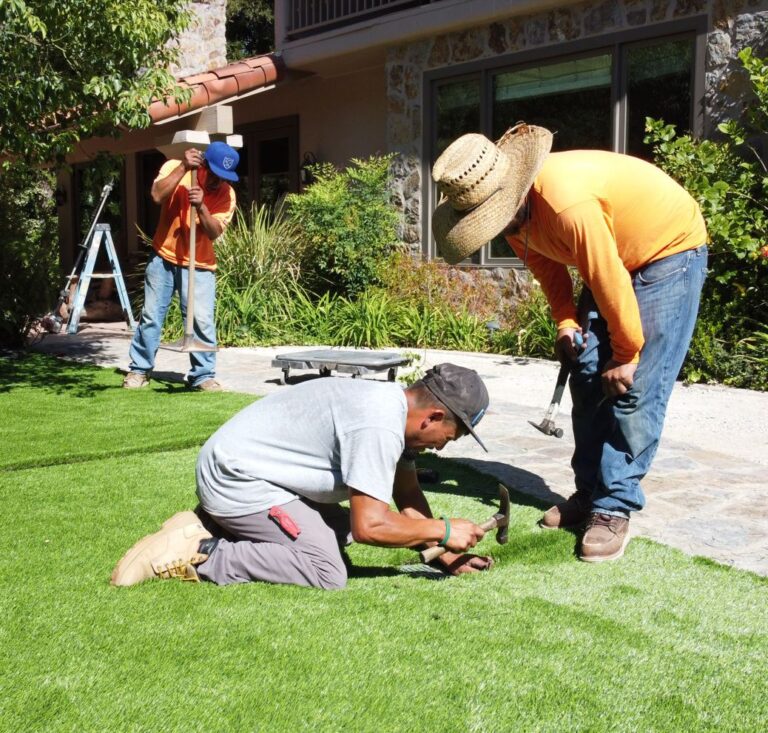
SECURITY OF INSTALLATION
To secure the turf, we use 5″ zinc nails — specifically bright common nails rather than galvanized. This is intentional: the bright nails are designed to oxidize, causing the base of each nail to expand and bond with the surrounding sand and gravel in the base. The result is a nail that effectively becomes larger than the hole it was driven through, locking the turf firmly in place.
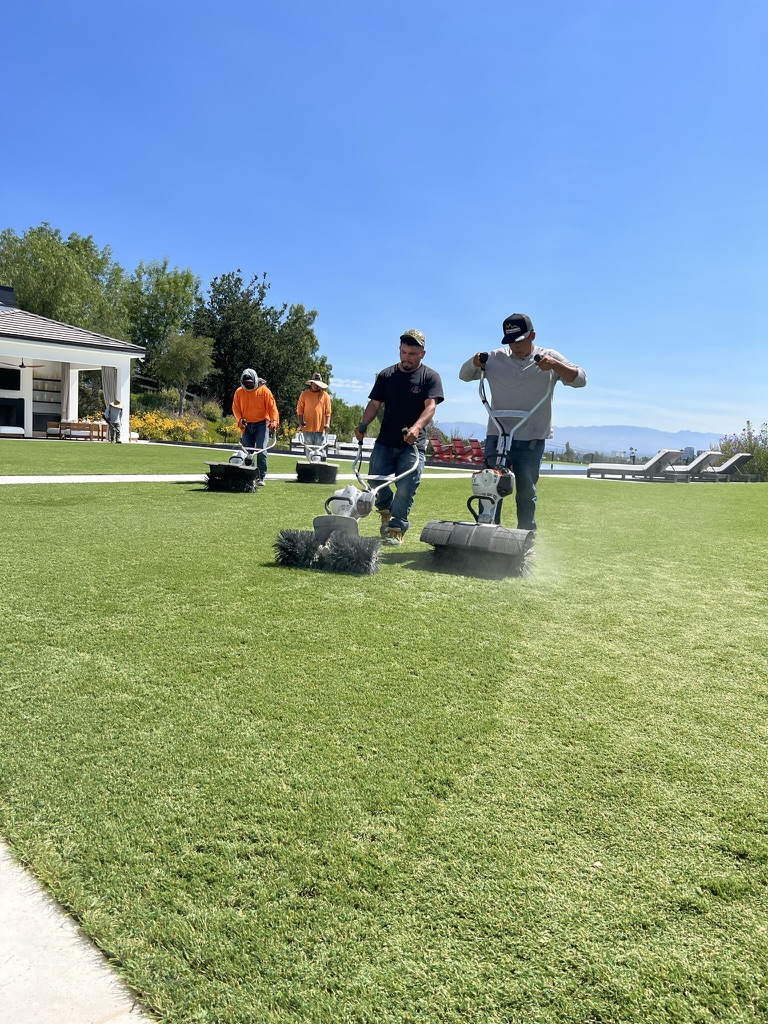
SAND-INFILL APPLICATION
Once the turf is installed, we use a drop spreader to evenly distribute 1 to 2 pounds of infill per square foot. A distinguishing feature of our process is that we install a 50/50 mix of Envirofill and T°Cool infill. Envirofill is coated with an antimicrobial barrier that resists bacteria, mold, and pet odors while staying durable and free-flowing for years, and T°Cool is engineered to lower the surface temperature of the turf, keeping your lawn noticeably cooler underfoot in the sun. Many other companies rely on silica sand, which is considered carcinogenic and can pose potential health risks.
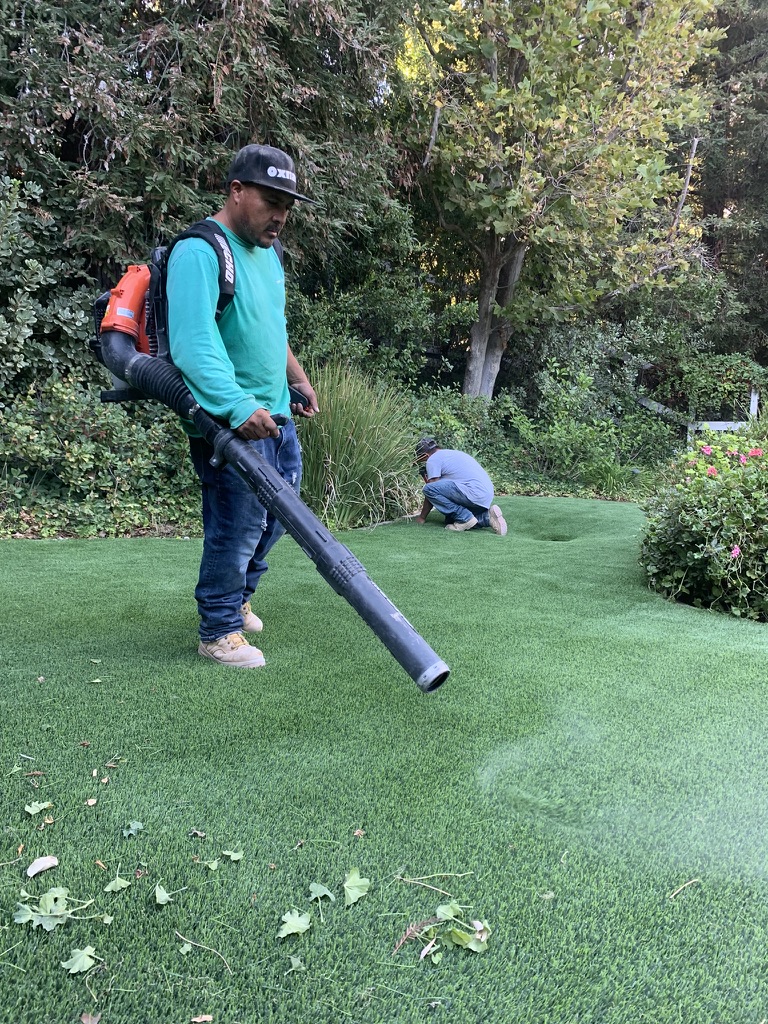
FINAL TOUCHES AND GROOMING
We remove and dispose of all waste materials and debris, then hose down the turf and surrounding areas to leave your work area clean and finished.
MAINTENANCE INSTRUCTIONS
Upon completion, we provide you with simple, practical instructions for properly caring for and maintaining your new turf.
Paver Installation
Step by Step Installation
PRE-INSTALLATION EXCAVATION
The paver installation begins by excavating existing materials to a depth of 6”. We then expose the irrigation lines and individually cap each sprinkler within the specified area. We intentionally avoid capping the line itself so that any sprinklers fed by that line continue to function. Once the sprinklers are capped, we grade the area to the precise slope required.
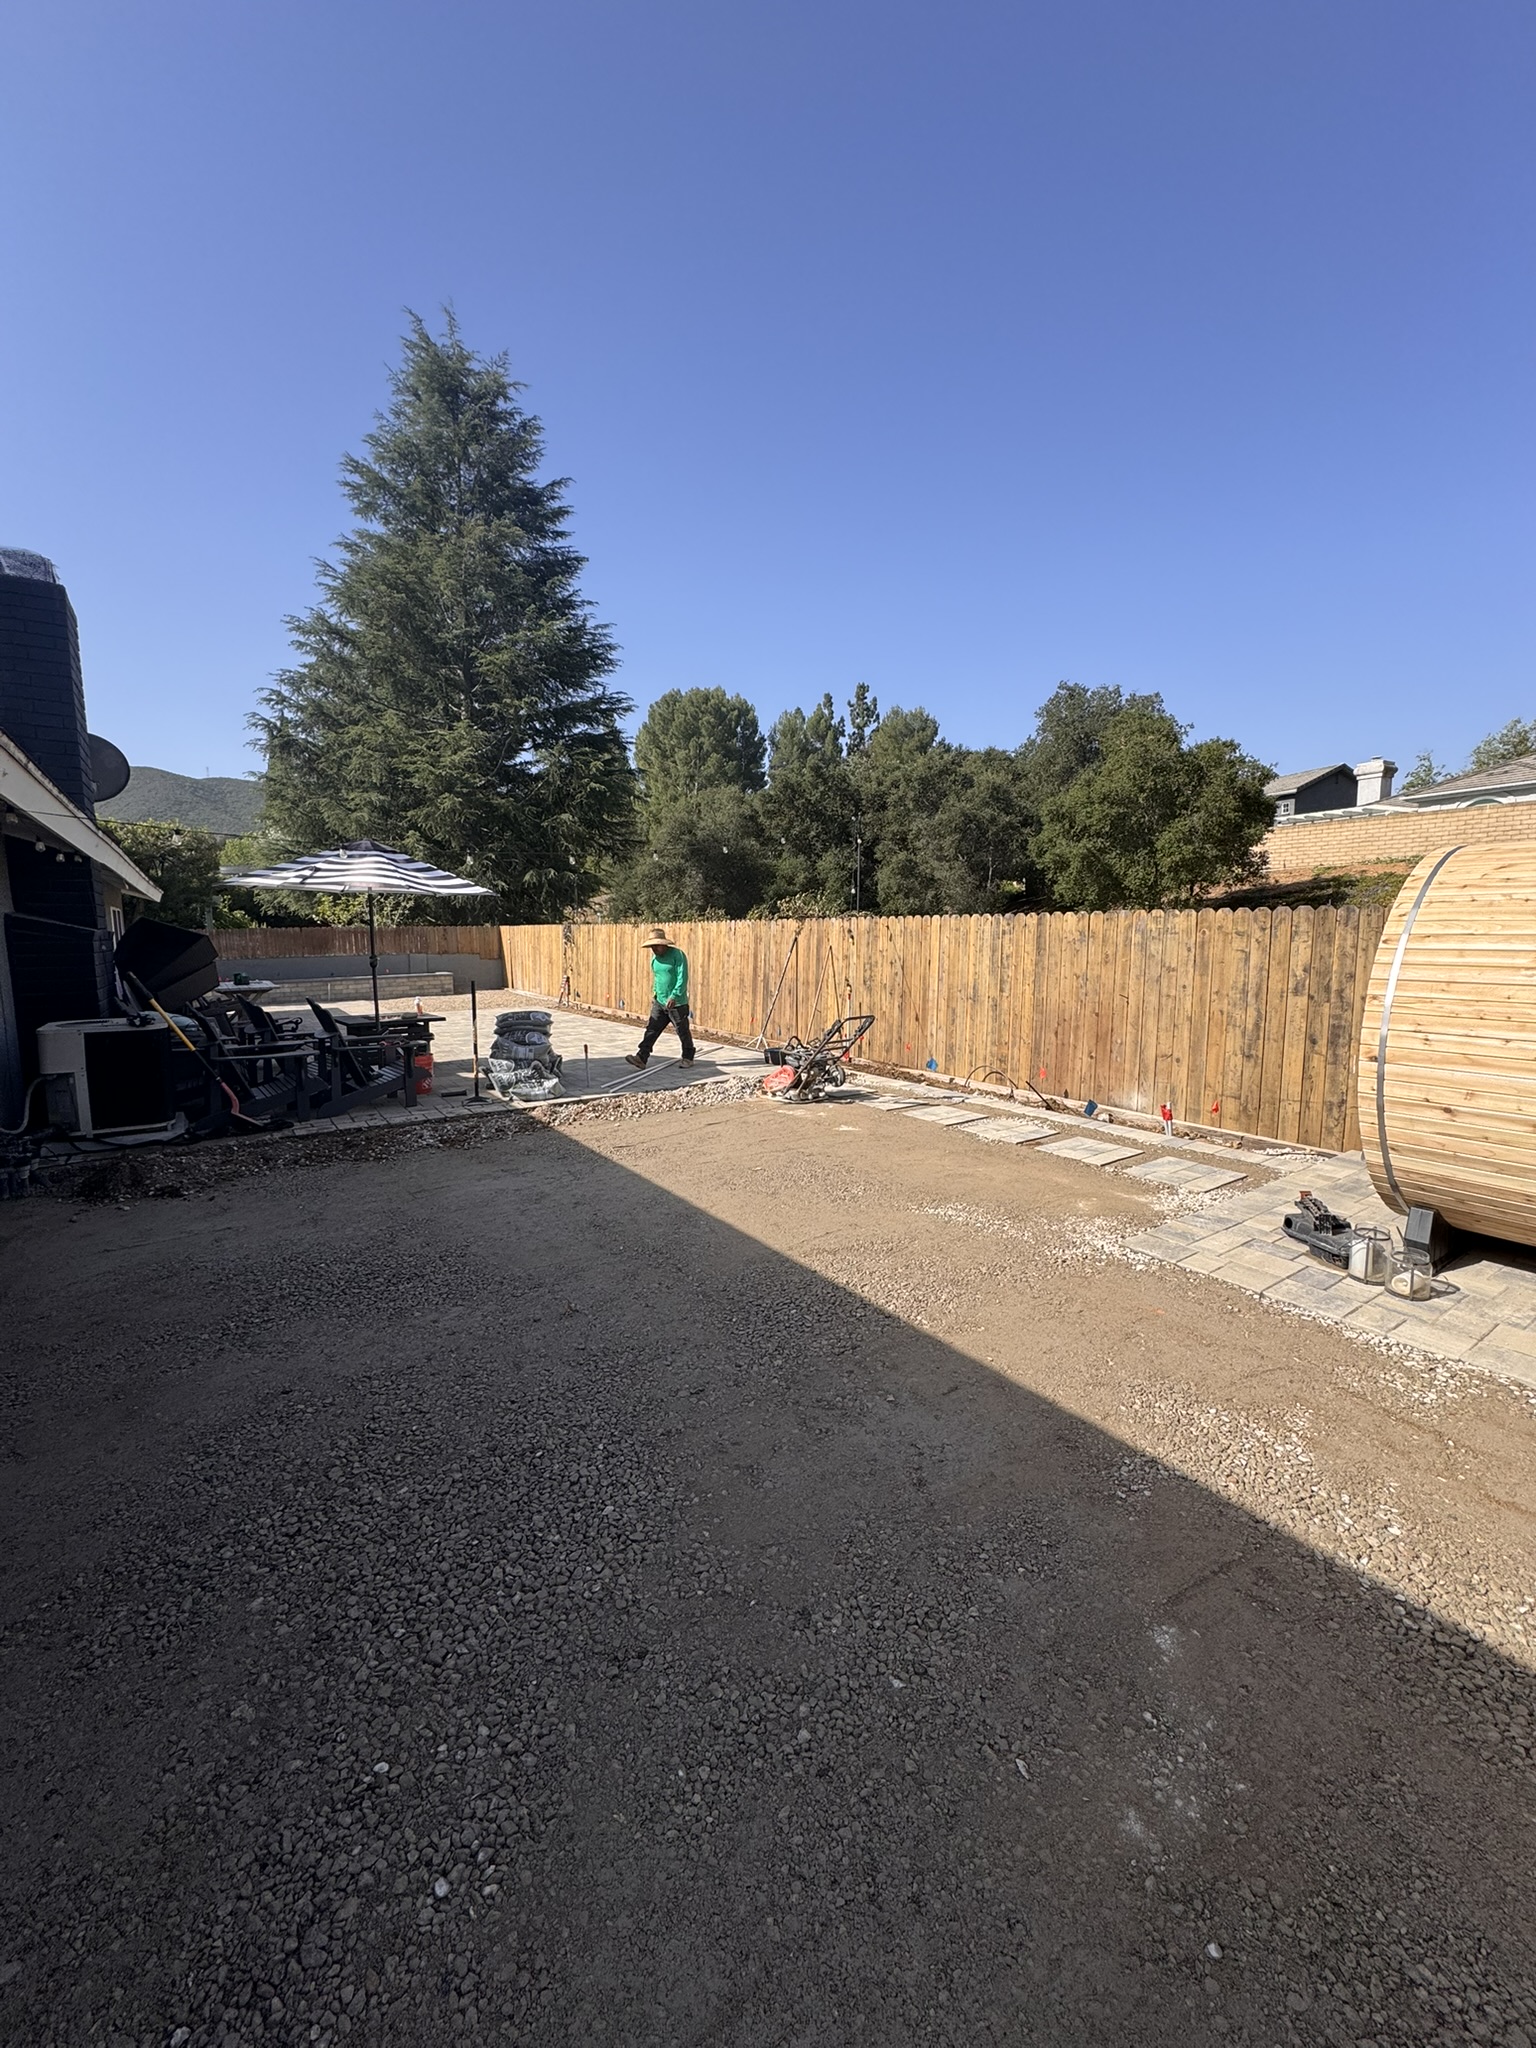
BASE PREP
With the area excavated, we install 4” of class II road base and spread it to match the specified slope using a 2x4 and string line for accuracy.
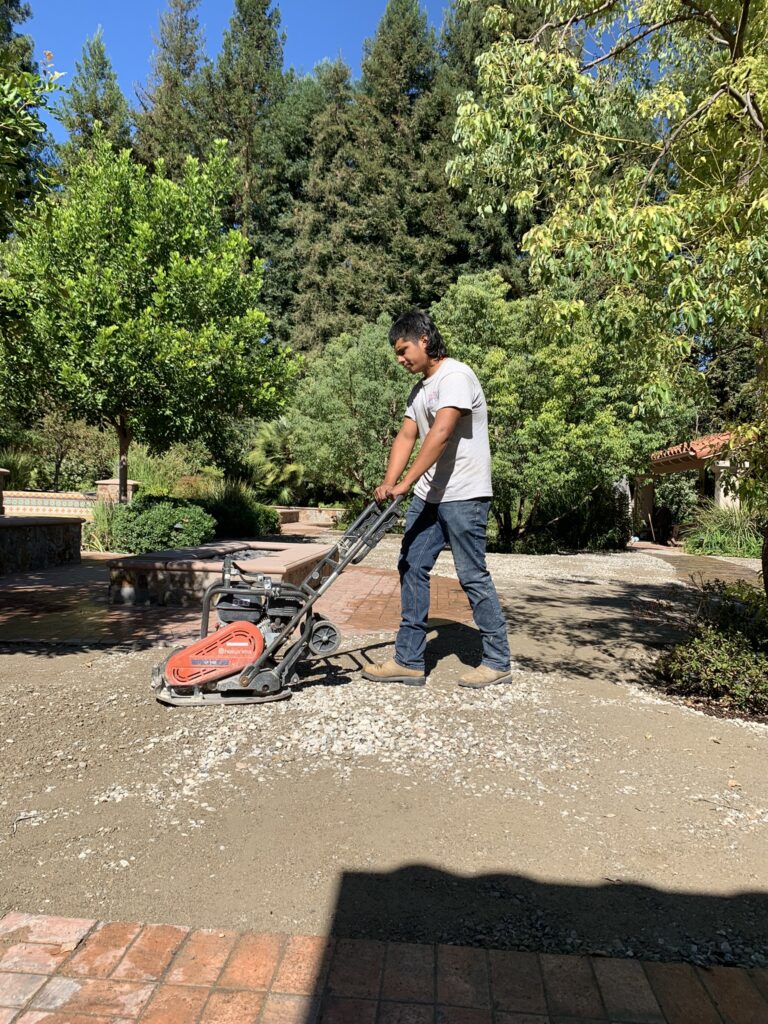
COMPACTING
Once the base is properly spread, we use a plate compactor to compact it to 95%, typically requiring 2 to 3 passes for a fully stabilized foundation.
LAYING PREP
With the base graded and compacted, we install ¾” of washed sand to create a perfectly smooth bed for the pavers. At this point the base is fully complete and we are ready to begin laying the pavers.
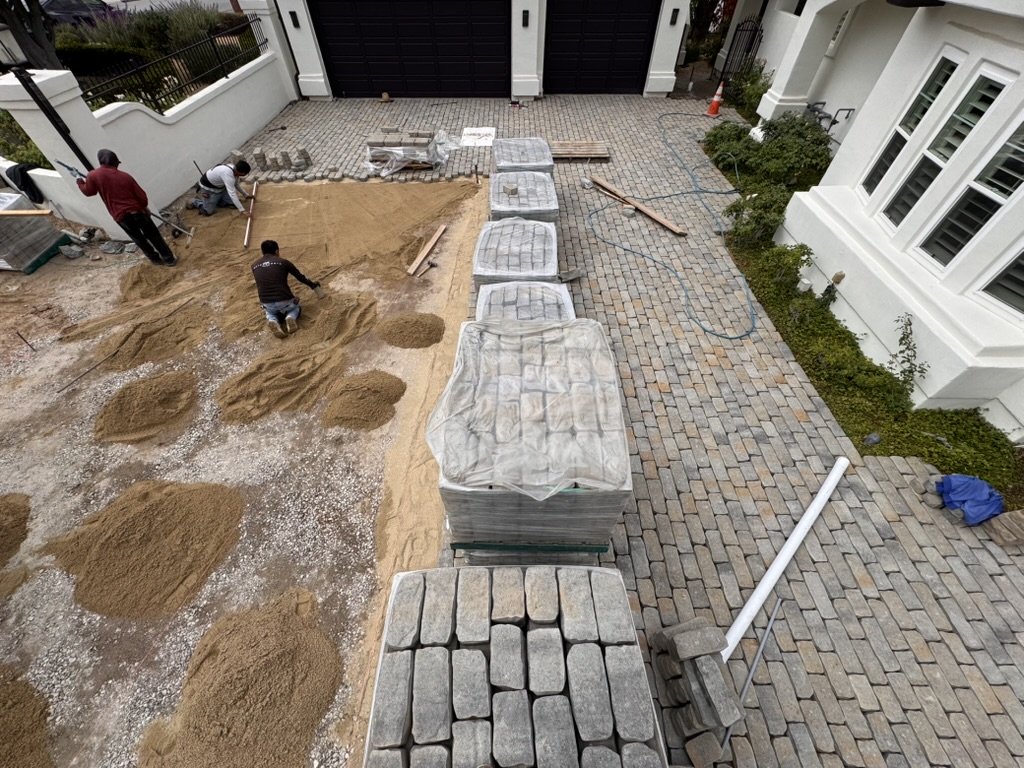
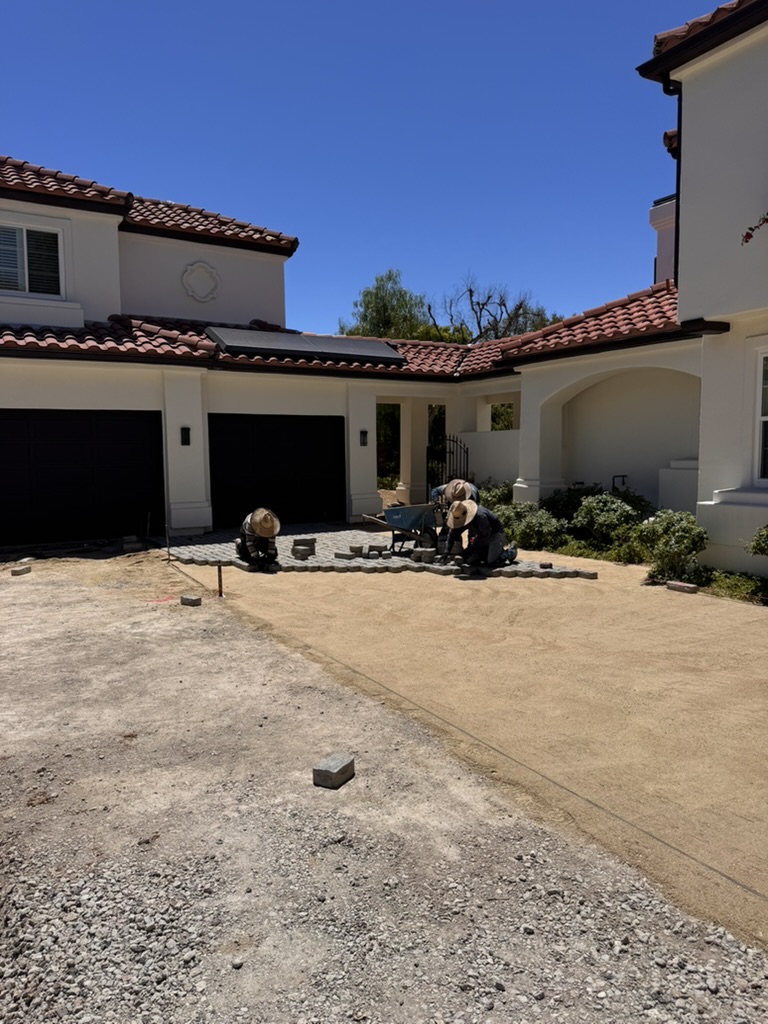
LAYING THE PAVERS
With the base complete, we lay the pavers in the specified pattern and make any necessary cuts. We then pull up any pavers not set against the residence or existing concrete or pavers, remove the road base and sand beneath the borders, and re-lay those borders in concrete. This locks the borders in place and tightly squeezes the pavers throughout the field area.
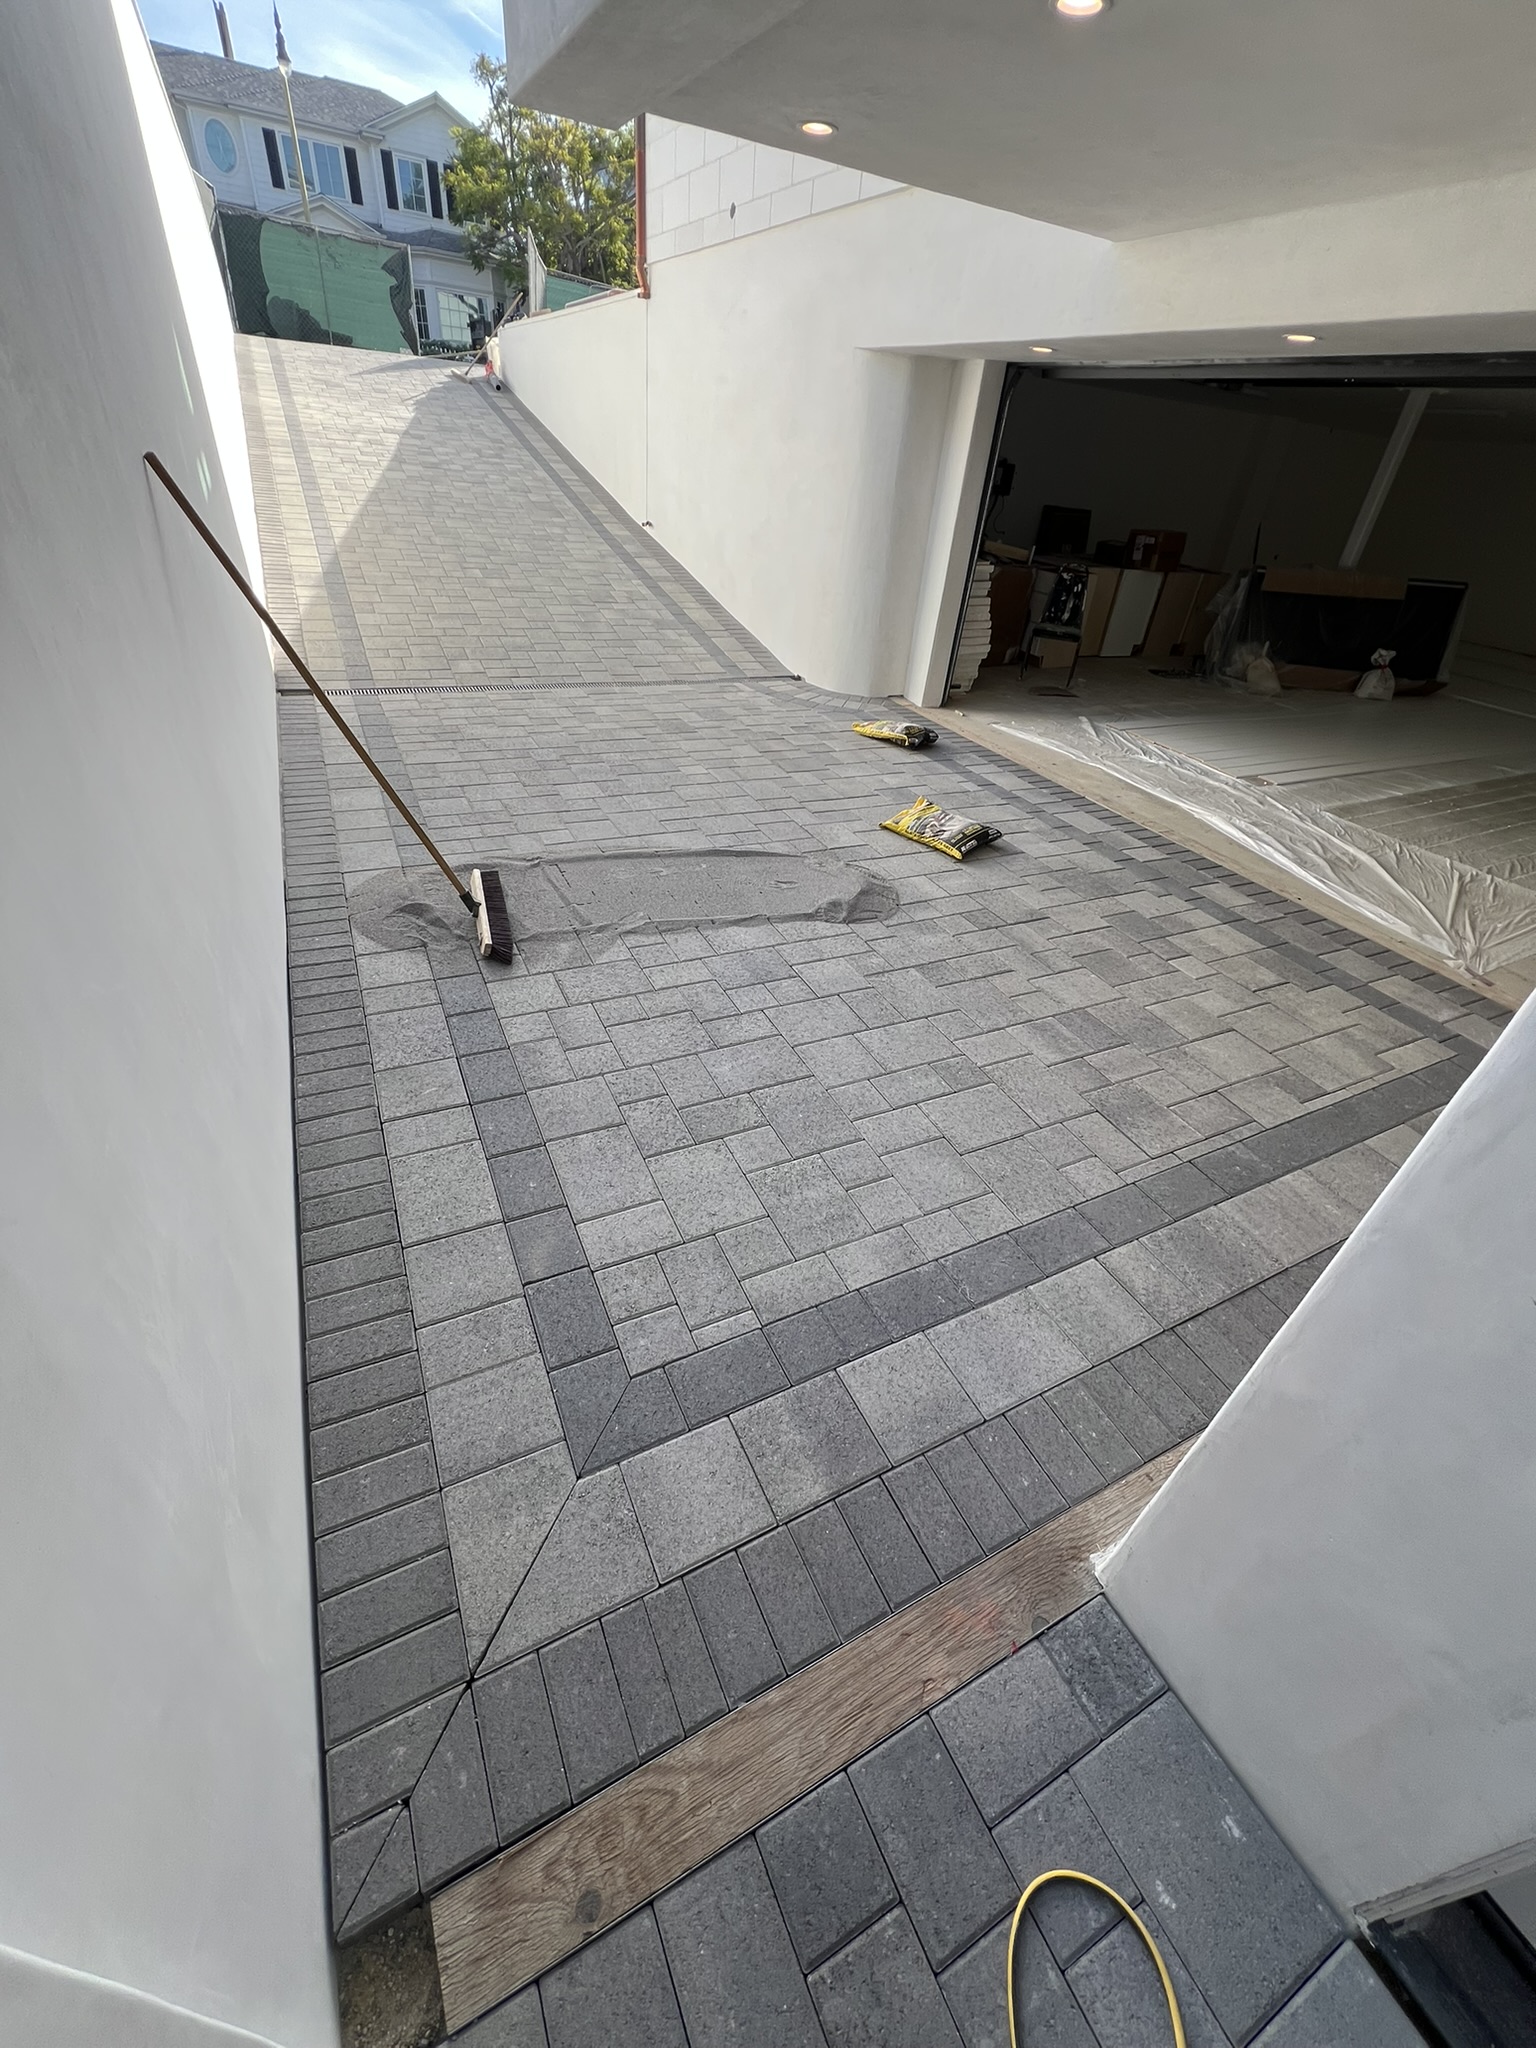
JOINT SAND
With all pavers laid, we brush in polymeric joint sand, then use a leaf blower to clear any residual sand from the surface — ensuring sand remains only in the joints and never on the face of the pavers.

RE-COMPACT
Once the sand is brushed in, we re-compact the pavers. This vibrates the sand deeper into the joints and further compacts the washed sand beneath the pavers for a tight, durable result.
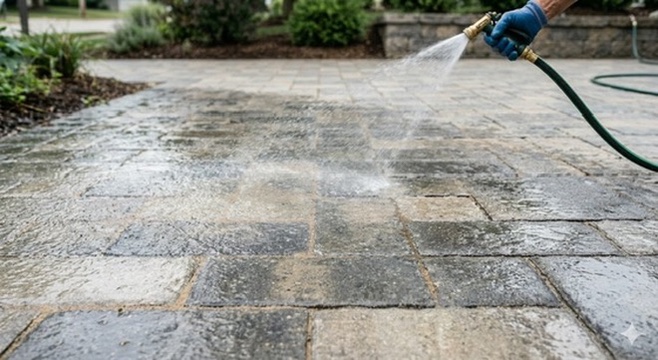
CURE
Finally, we spray the pavers to cure the polymeric sand. As the sand dries, it sets into a firm, coping-like consistency that binds all the pavers together for lasting stability.