Installations
Turf Installation
Step by Step Installation
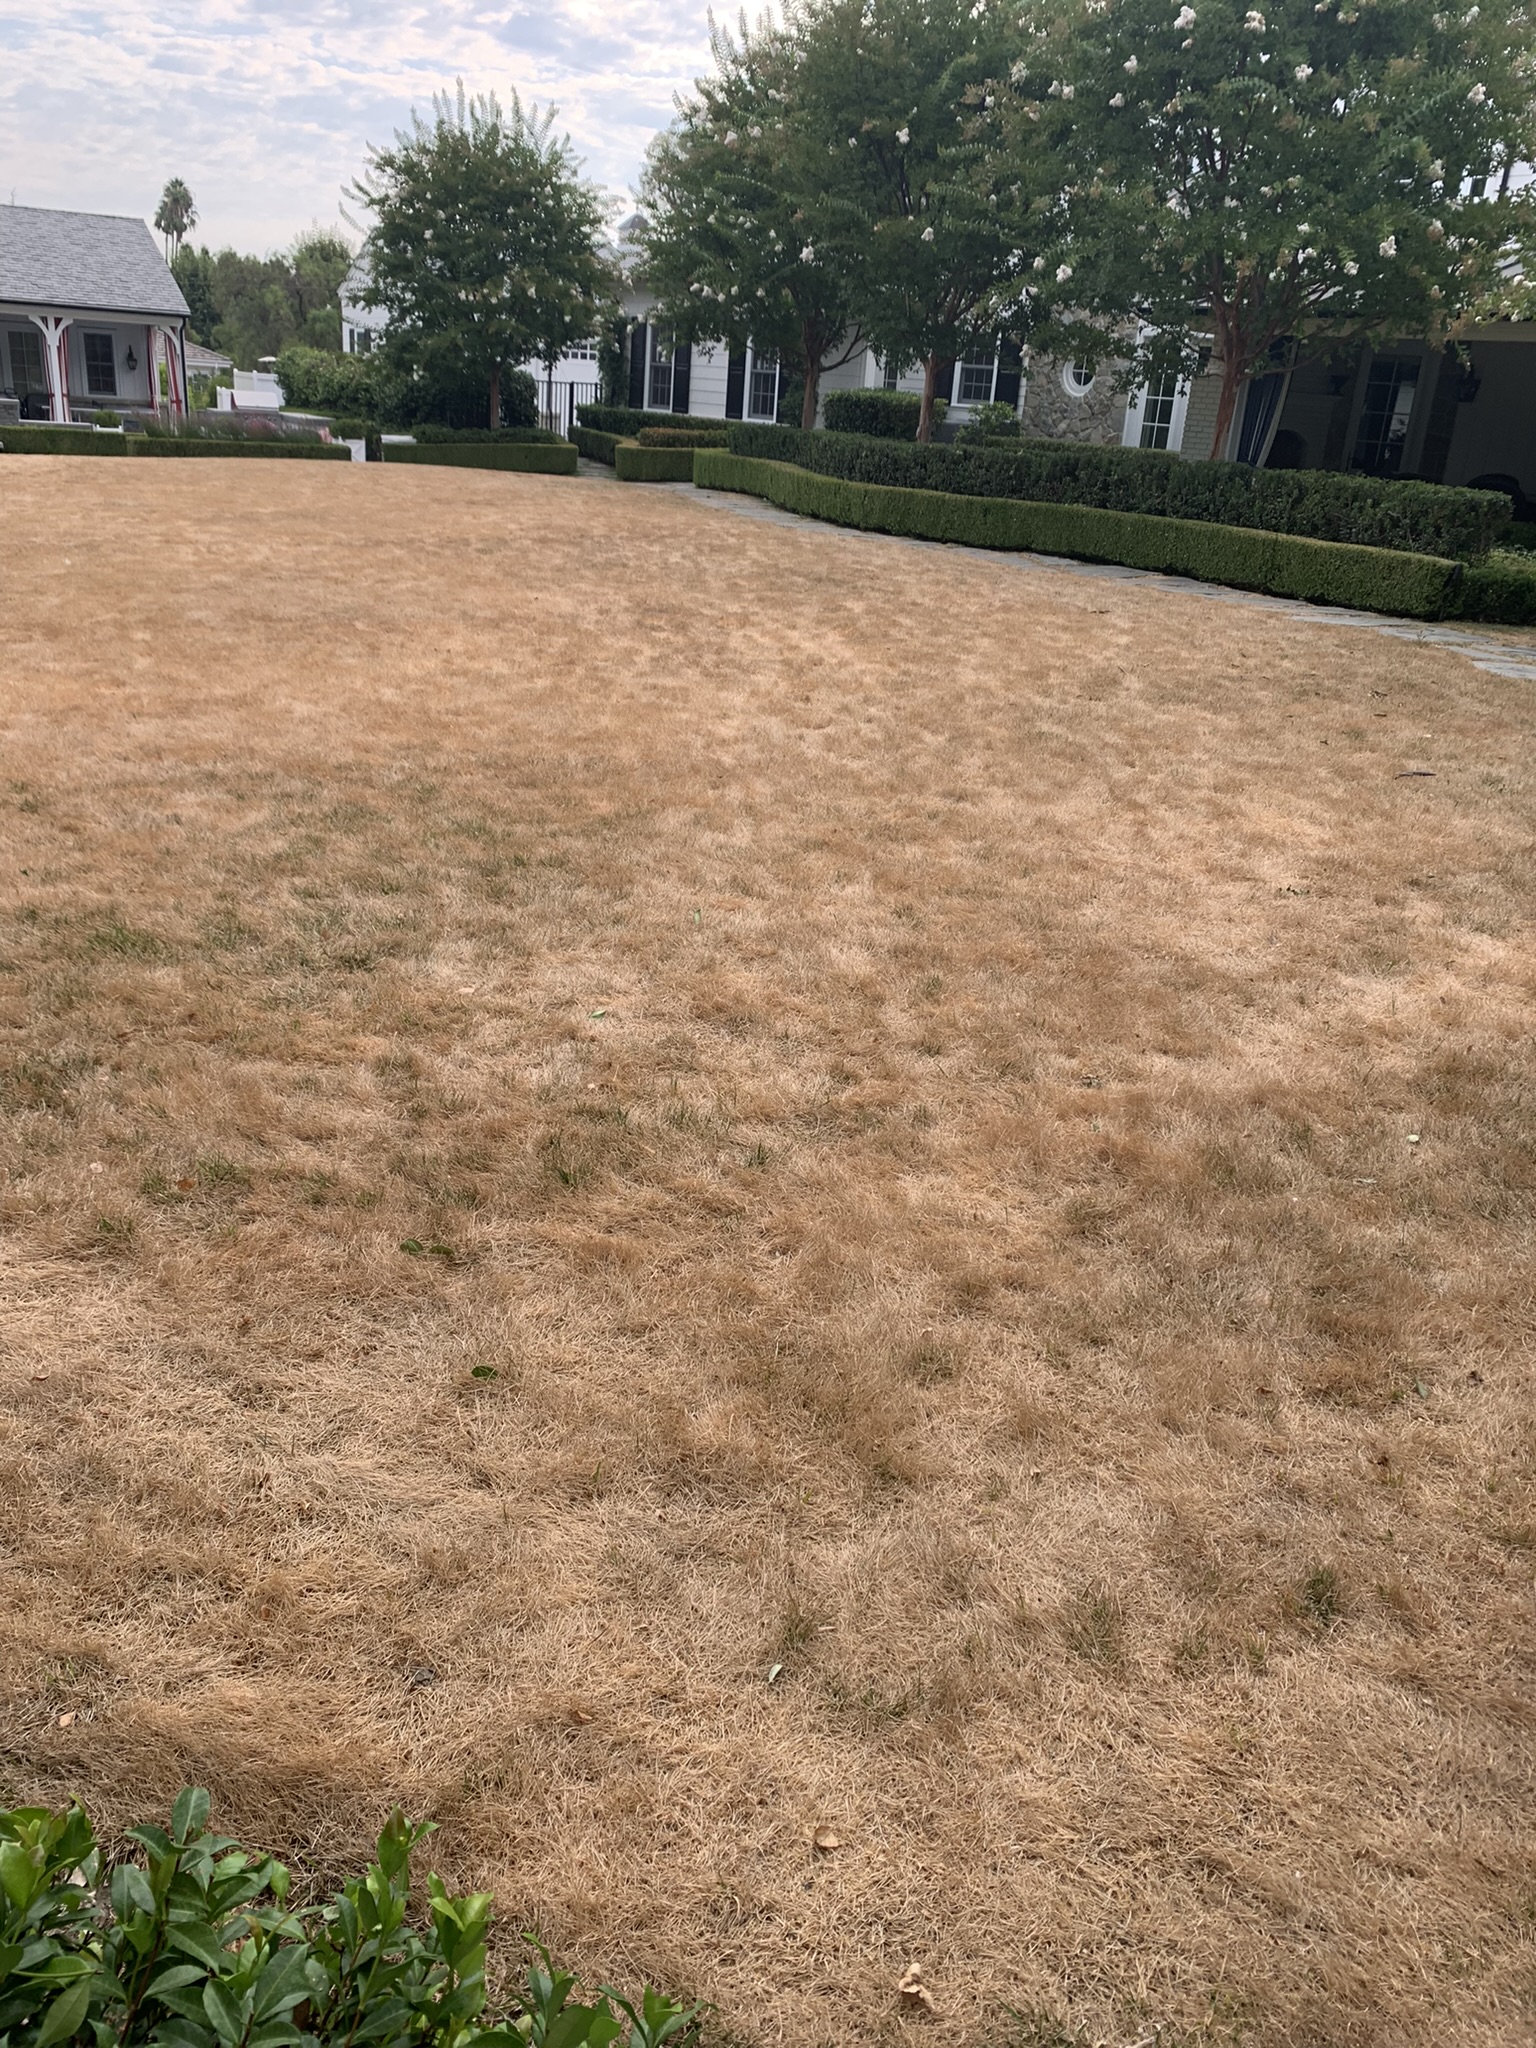
PRE-INSTALLATION
The first step in the Turf Installation process is to kill the sod and remove 3 to 4″ of existing material (i.e. dirt) and individually cap any sprinklers in the field area. The reason we cap the sprinklers individually is to future-proof your lawn/irrigation system.
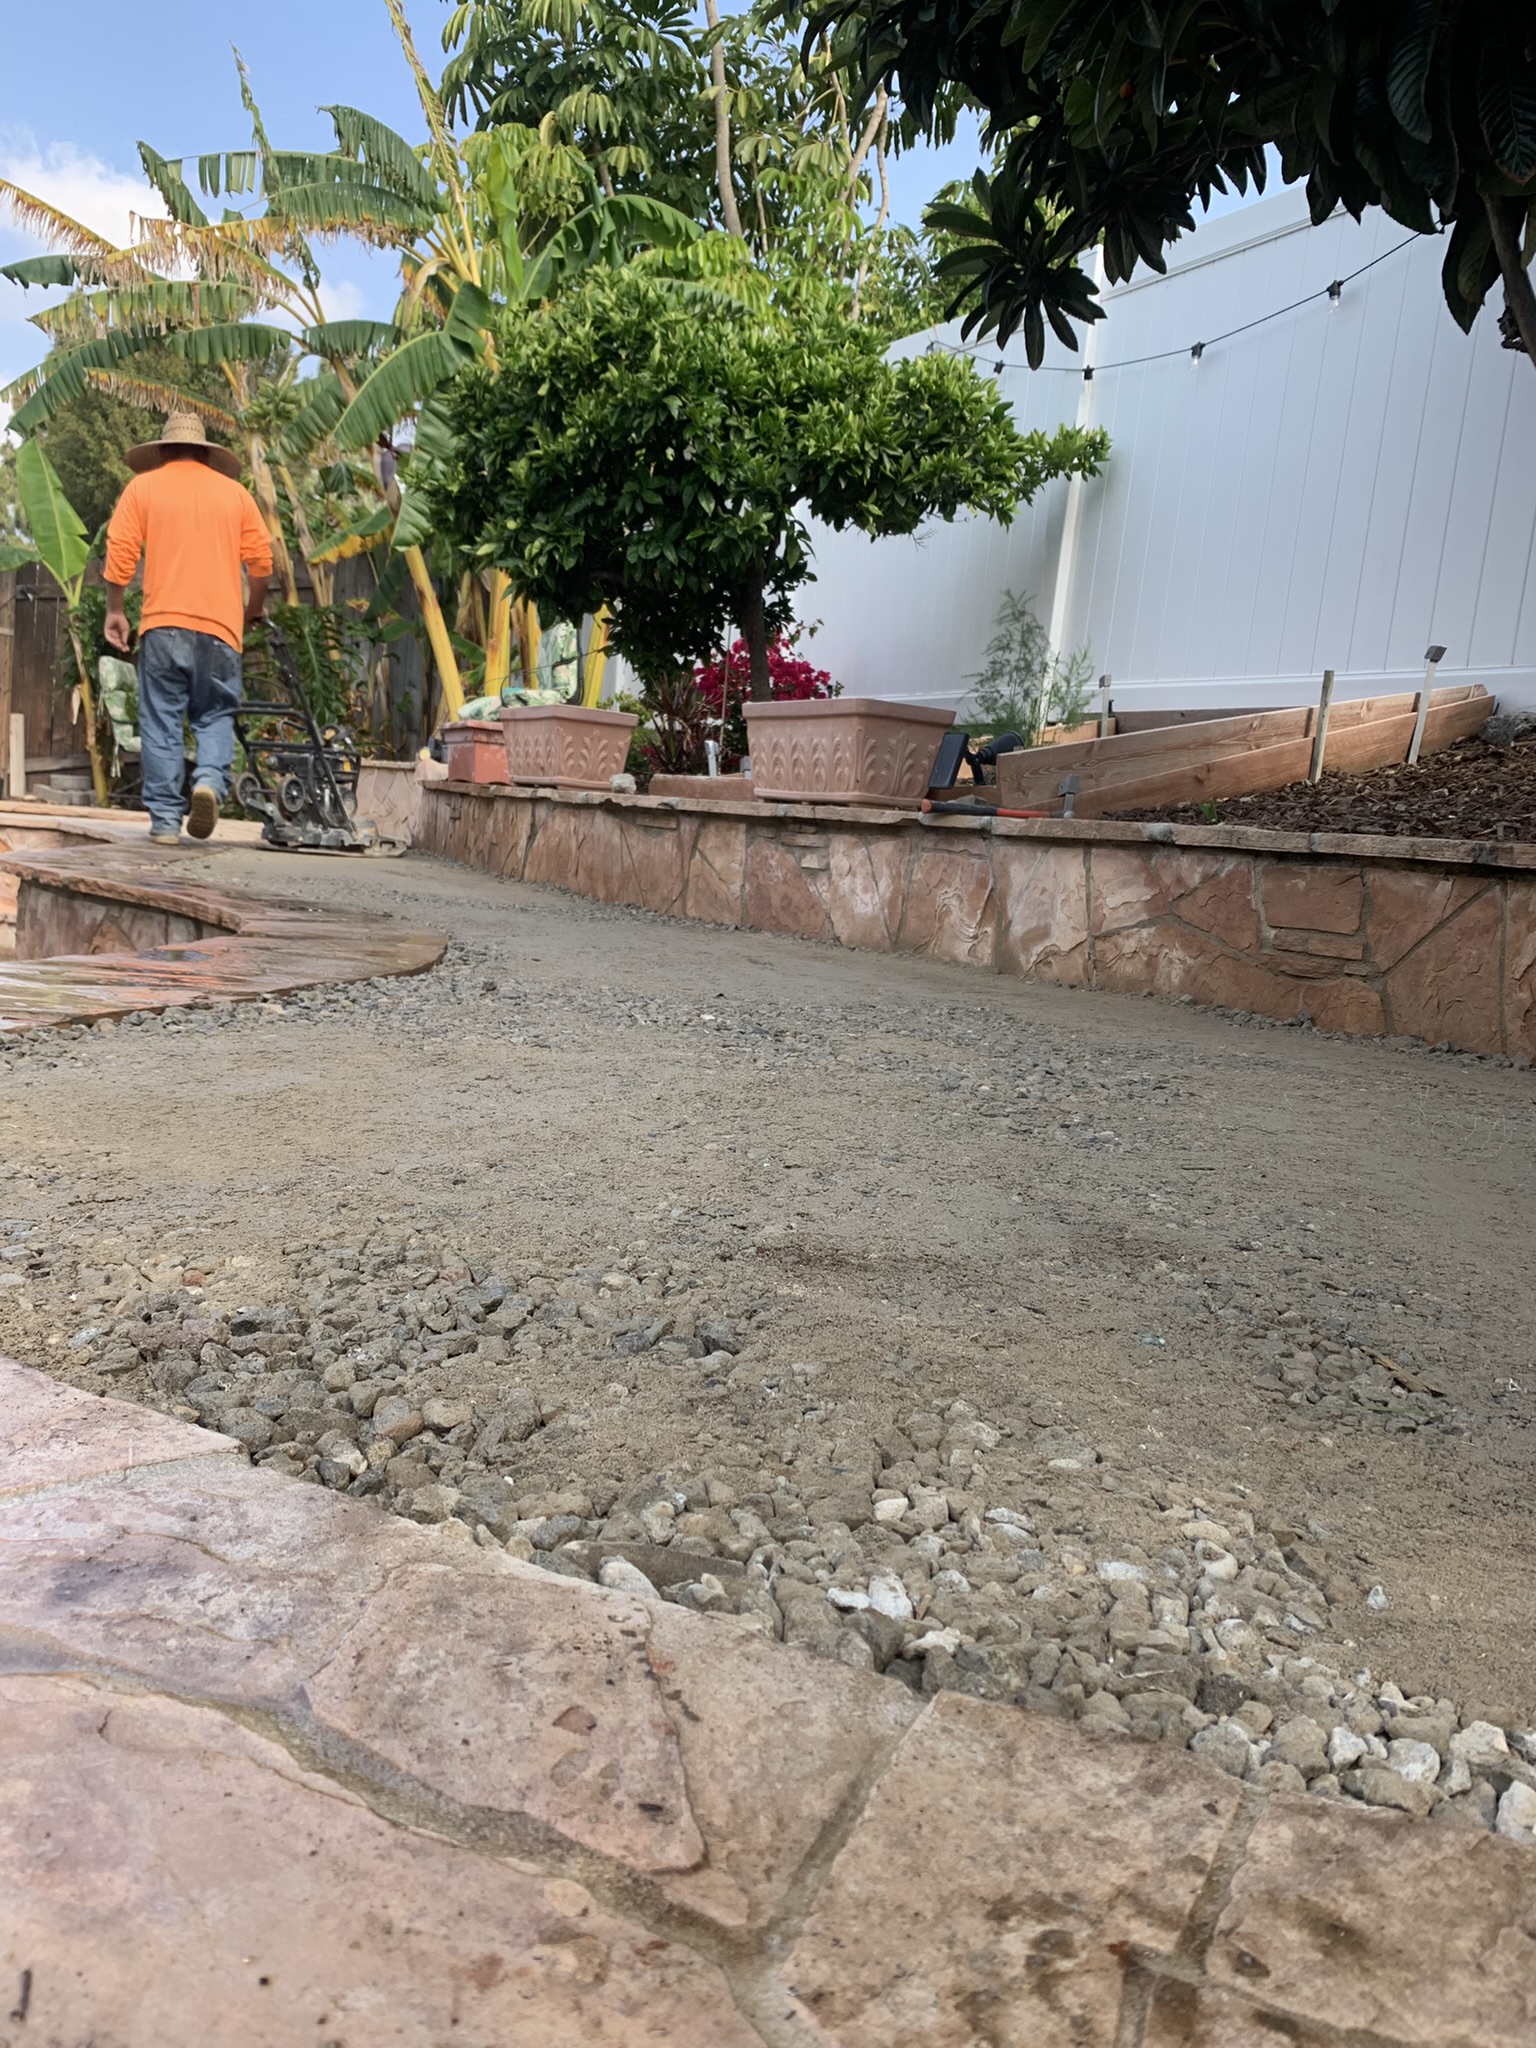
BASE PREP
The second step is to prepare the lawn by determining and adjusting the planarity, slope and elevations prior to compacting. This is done by fine grading and leveling out of the lawn. This ensures that your turf will drain properly.
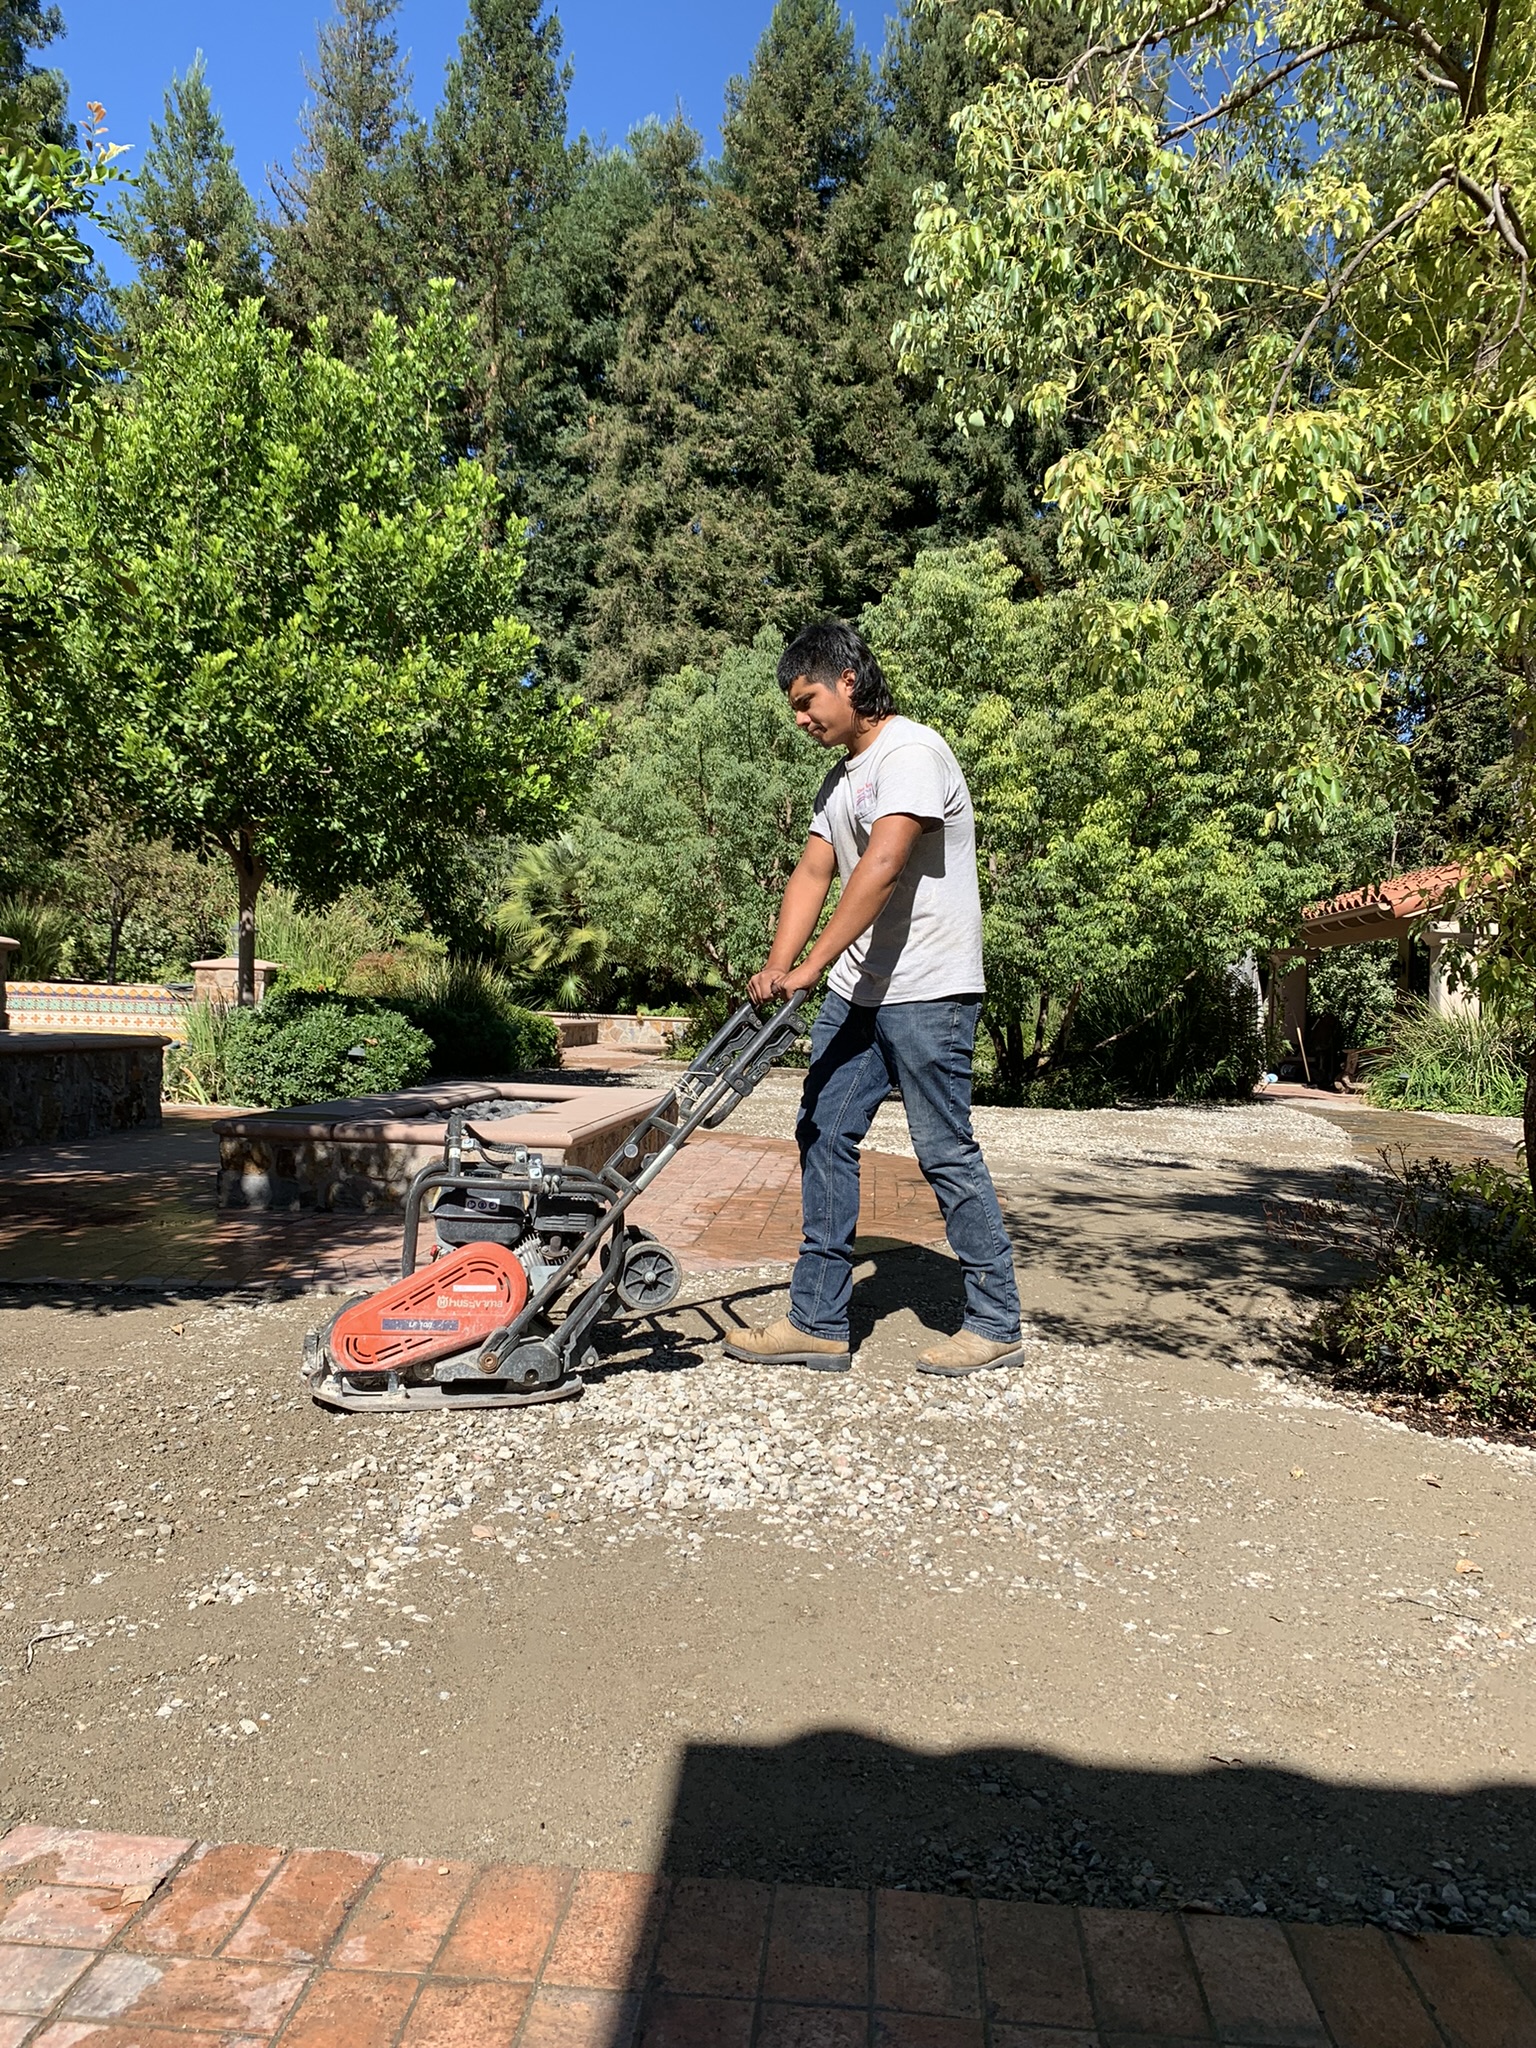
COMPACTING
The next step is to bring in the class II road base and compact the lawn to 95% so that the turf and installation materials can be laid down smoothly and properly. Most companies only compact one time. Evergreen compacts twice to ensure a sturdy and secure base to install the turf.
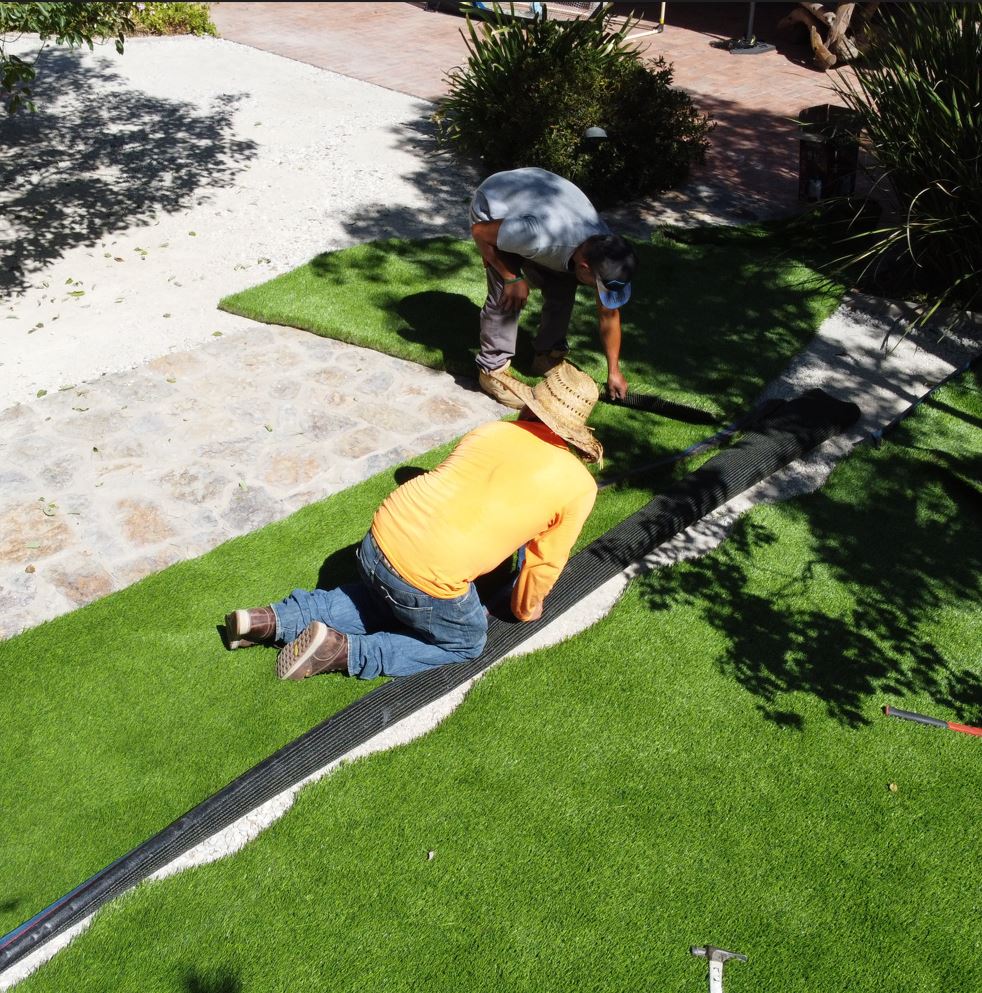
LAYING TURF
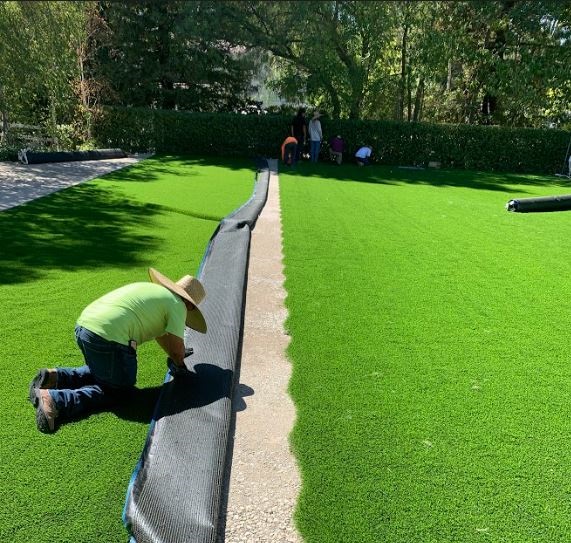
While steps 1-3 are being executed, we lay the turf in the sun to heat up to help the backing to become more pliable. This allows for the turf to be stretched with “carpet kickers.” This is done to pull the turf taught to ensure there are no wrinkles after installation.
TRIMMING TURF TO AREA
Turf is cut to the size of the lawn. Seams are carefully planned to ensure your lawn has as little seams as possible. Installing a minimal amount of seams is important to keep a natural look and to help protect the longevity and overall integrity of the turf for many years to come. Our company avoids using scraps and leftover material to fill in smaller spaces which minimizes the amount of seams.

SECURITY OF INSTALLATION
When securing the turf, we use 5” zinc nails. We use bright common nails (as opposed to galvanized nails). This allows the nail to oxidize (i.e. rust) and is intentionally done because it causes the base of the nail to expand and results in the nail bonding to part of the sand/gravel in the base – effectively making the nail larger than the hole it was originally pushed through.
SAND-INFILL APPLICATION
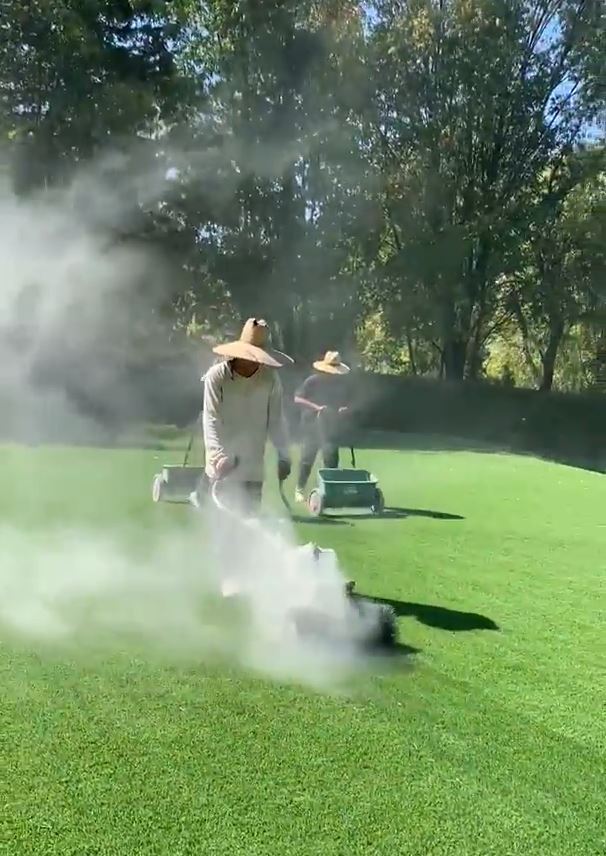
After the turf is installed, we use a drop spreader to evenly spread 1-2 pound(s) of infill per square foot. An unique feature about our process is that we only install Zeofill infill. Most other companies use silica sand, which is considered carcinogenic and can potentially cause health complications.
FINAL TOUCHES AND GROOMING
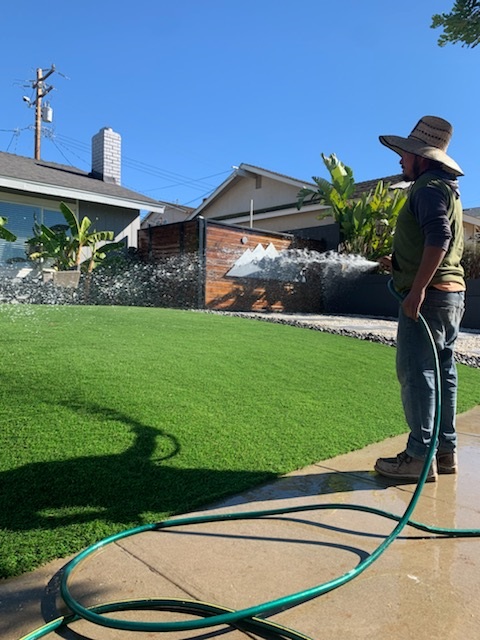
We remove and dispose of any waste materials and debris. We hose down the turf and surrounding areas to leave the work area clean.
MAINTENANCE INSTRUCTIONS
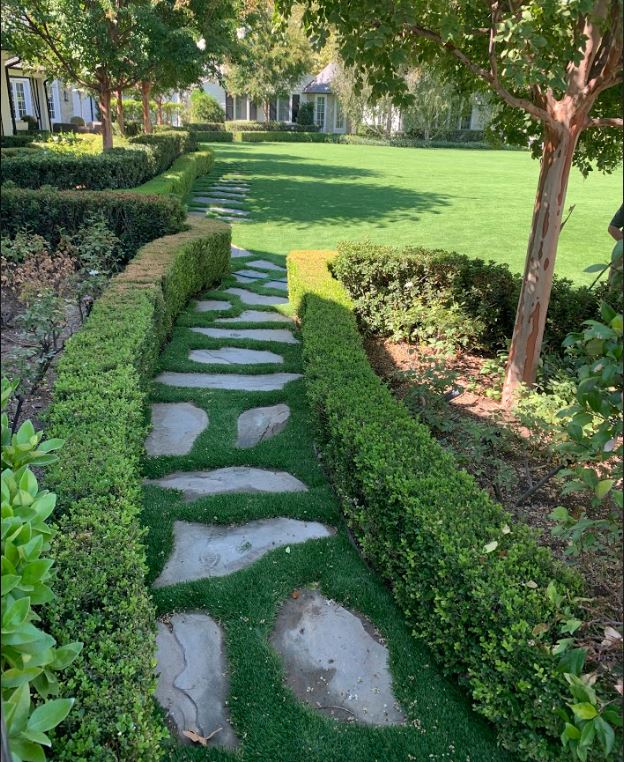
At the end of the job, we will provide you with simple and practical instructions to care and maintain your turf properly.
Paver installation
Step by Step Installation
PRE INSTALLATION
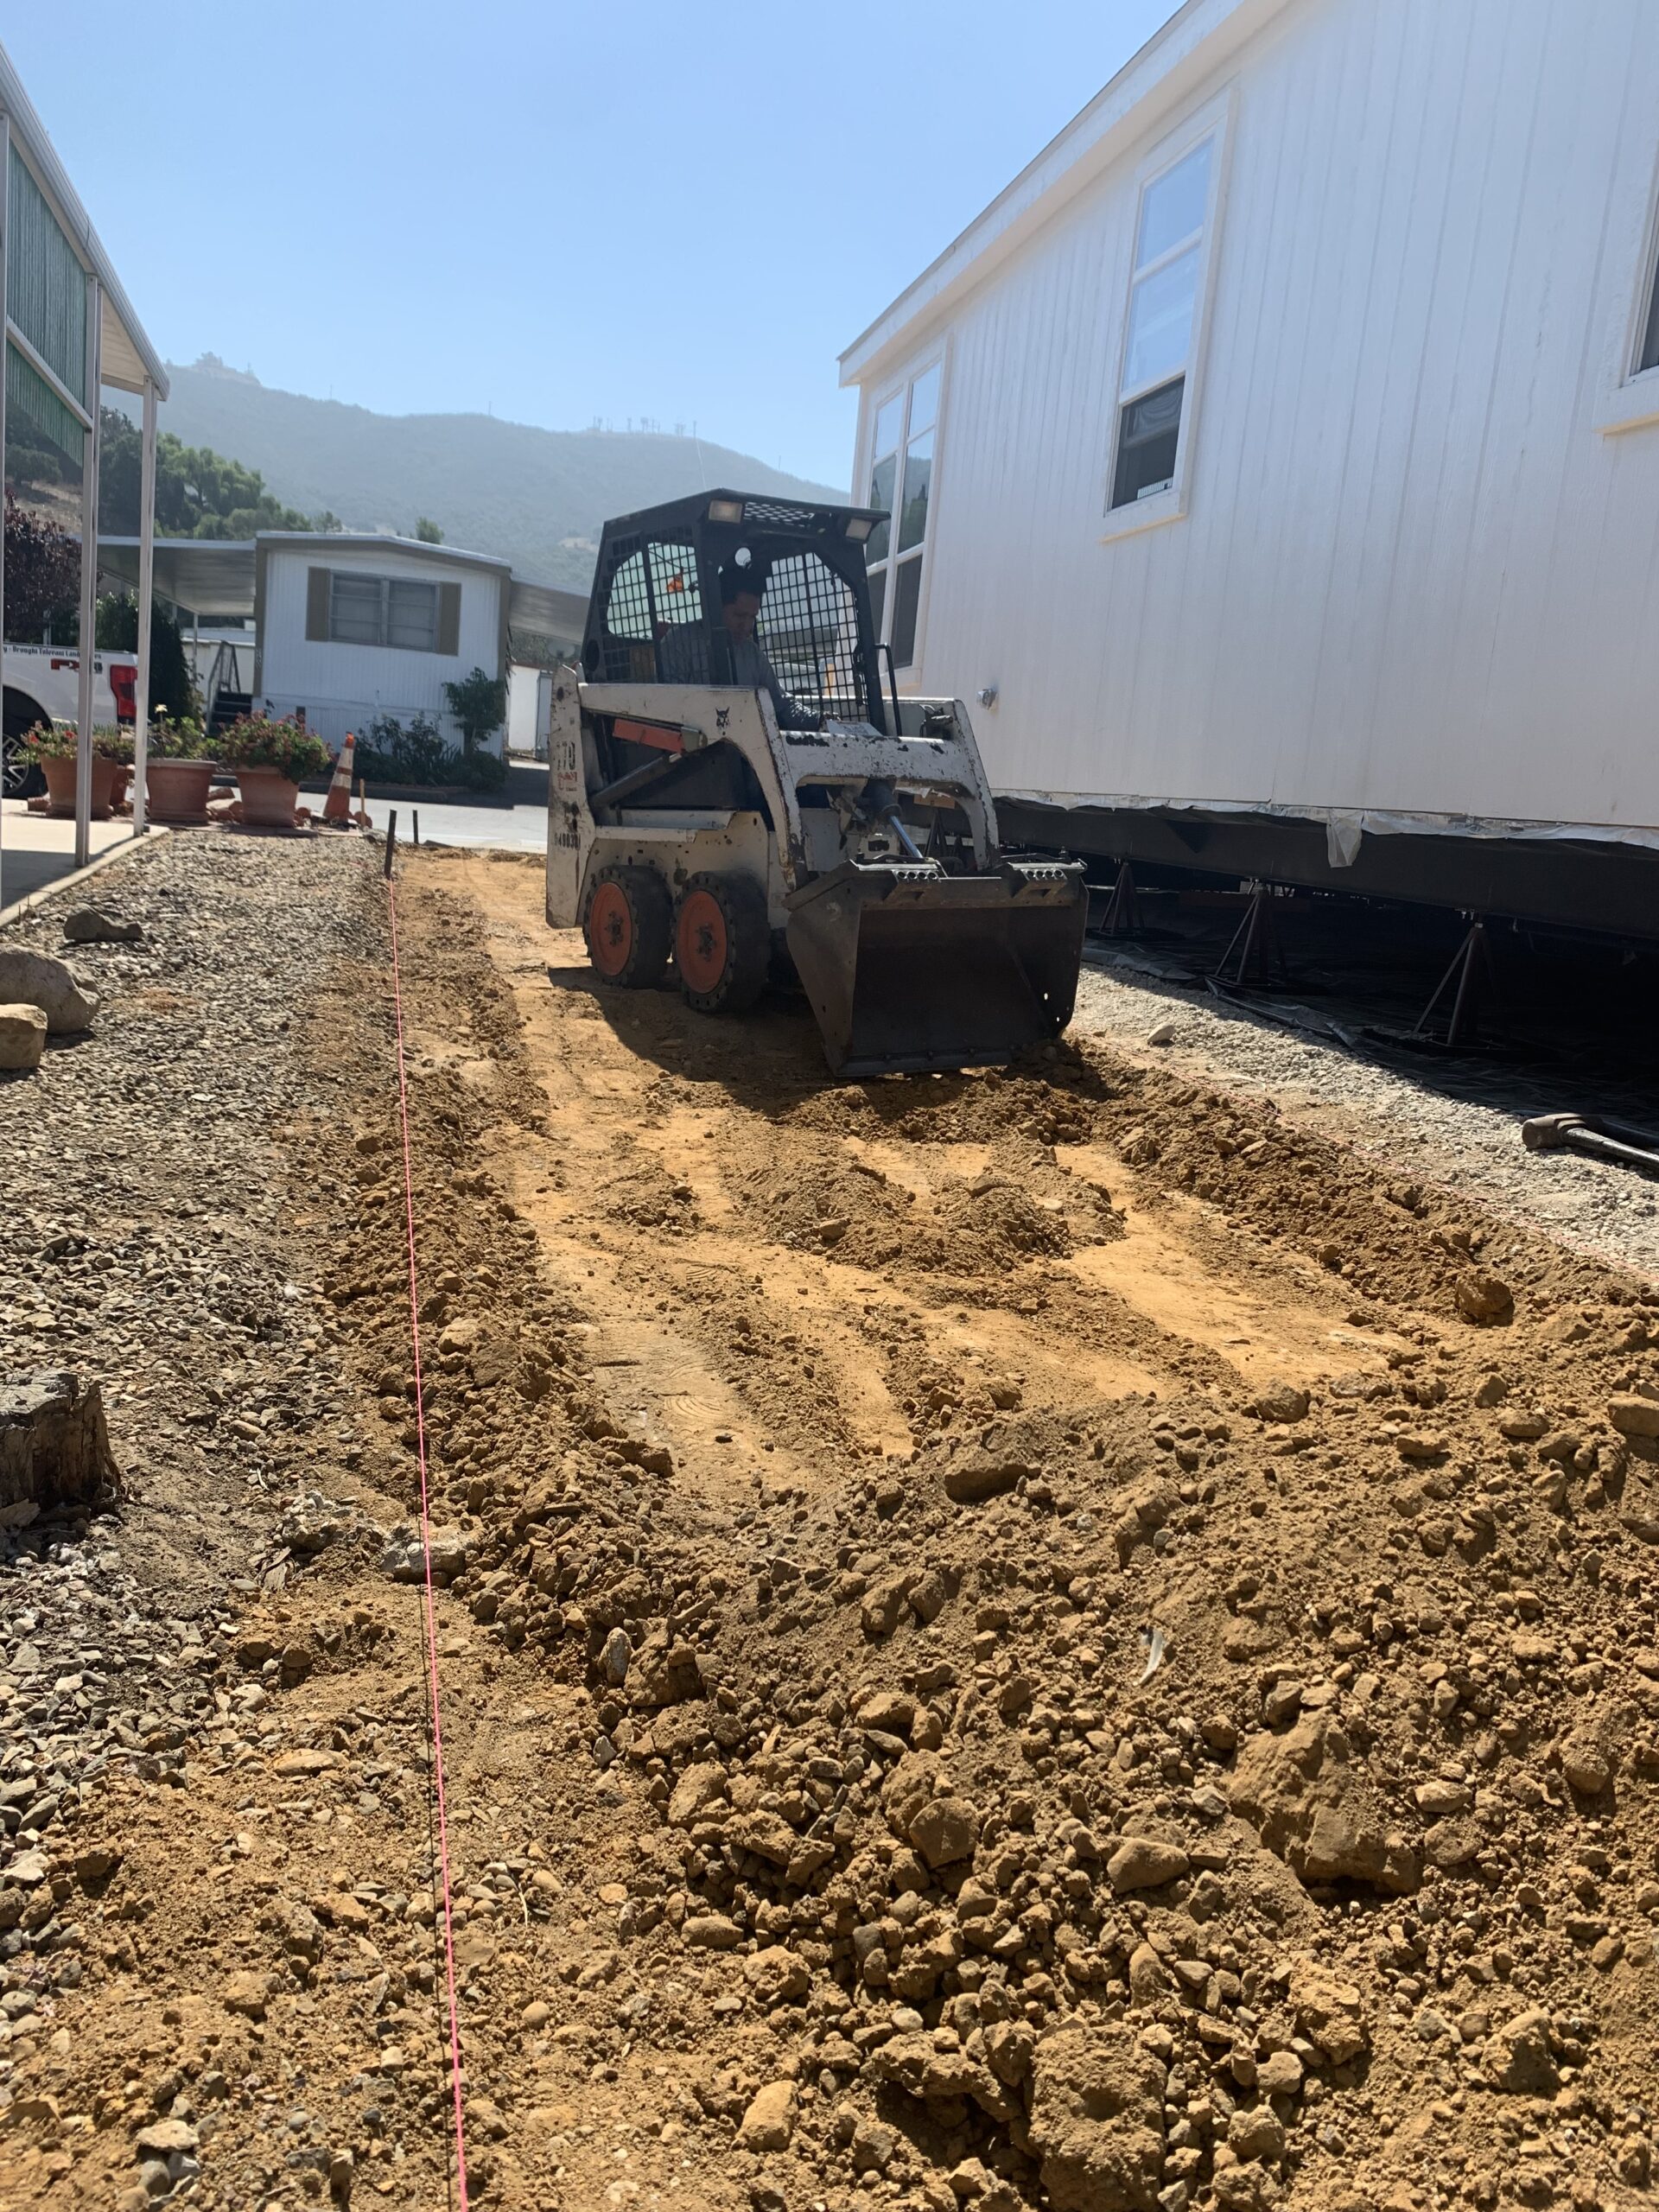
The first step in the paver installation process is excavating existing materials to 6”. At this point, we will expose the irrigation lines and individually cap any sprinklers in the specified area. The reason we don’t cap the line itself is to ensure any and all sprinklers that may be fed from the line will still work. After the sprinklers are capped we grade the area to the necessary slope for the specified area.
BASE PREP
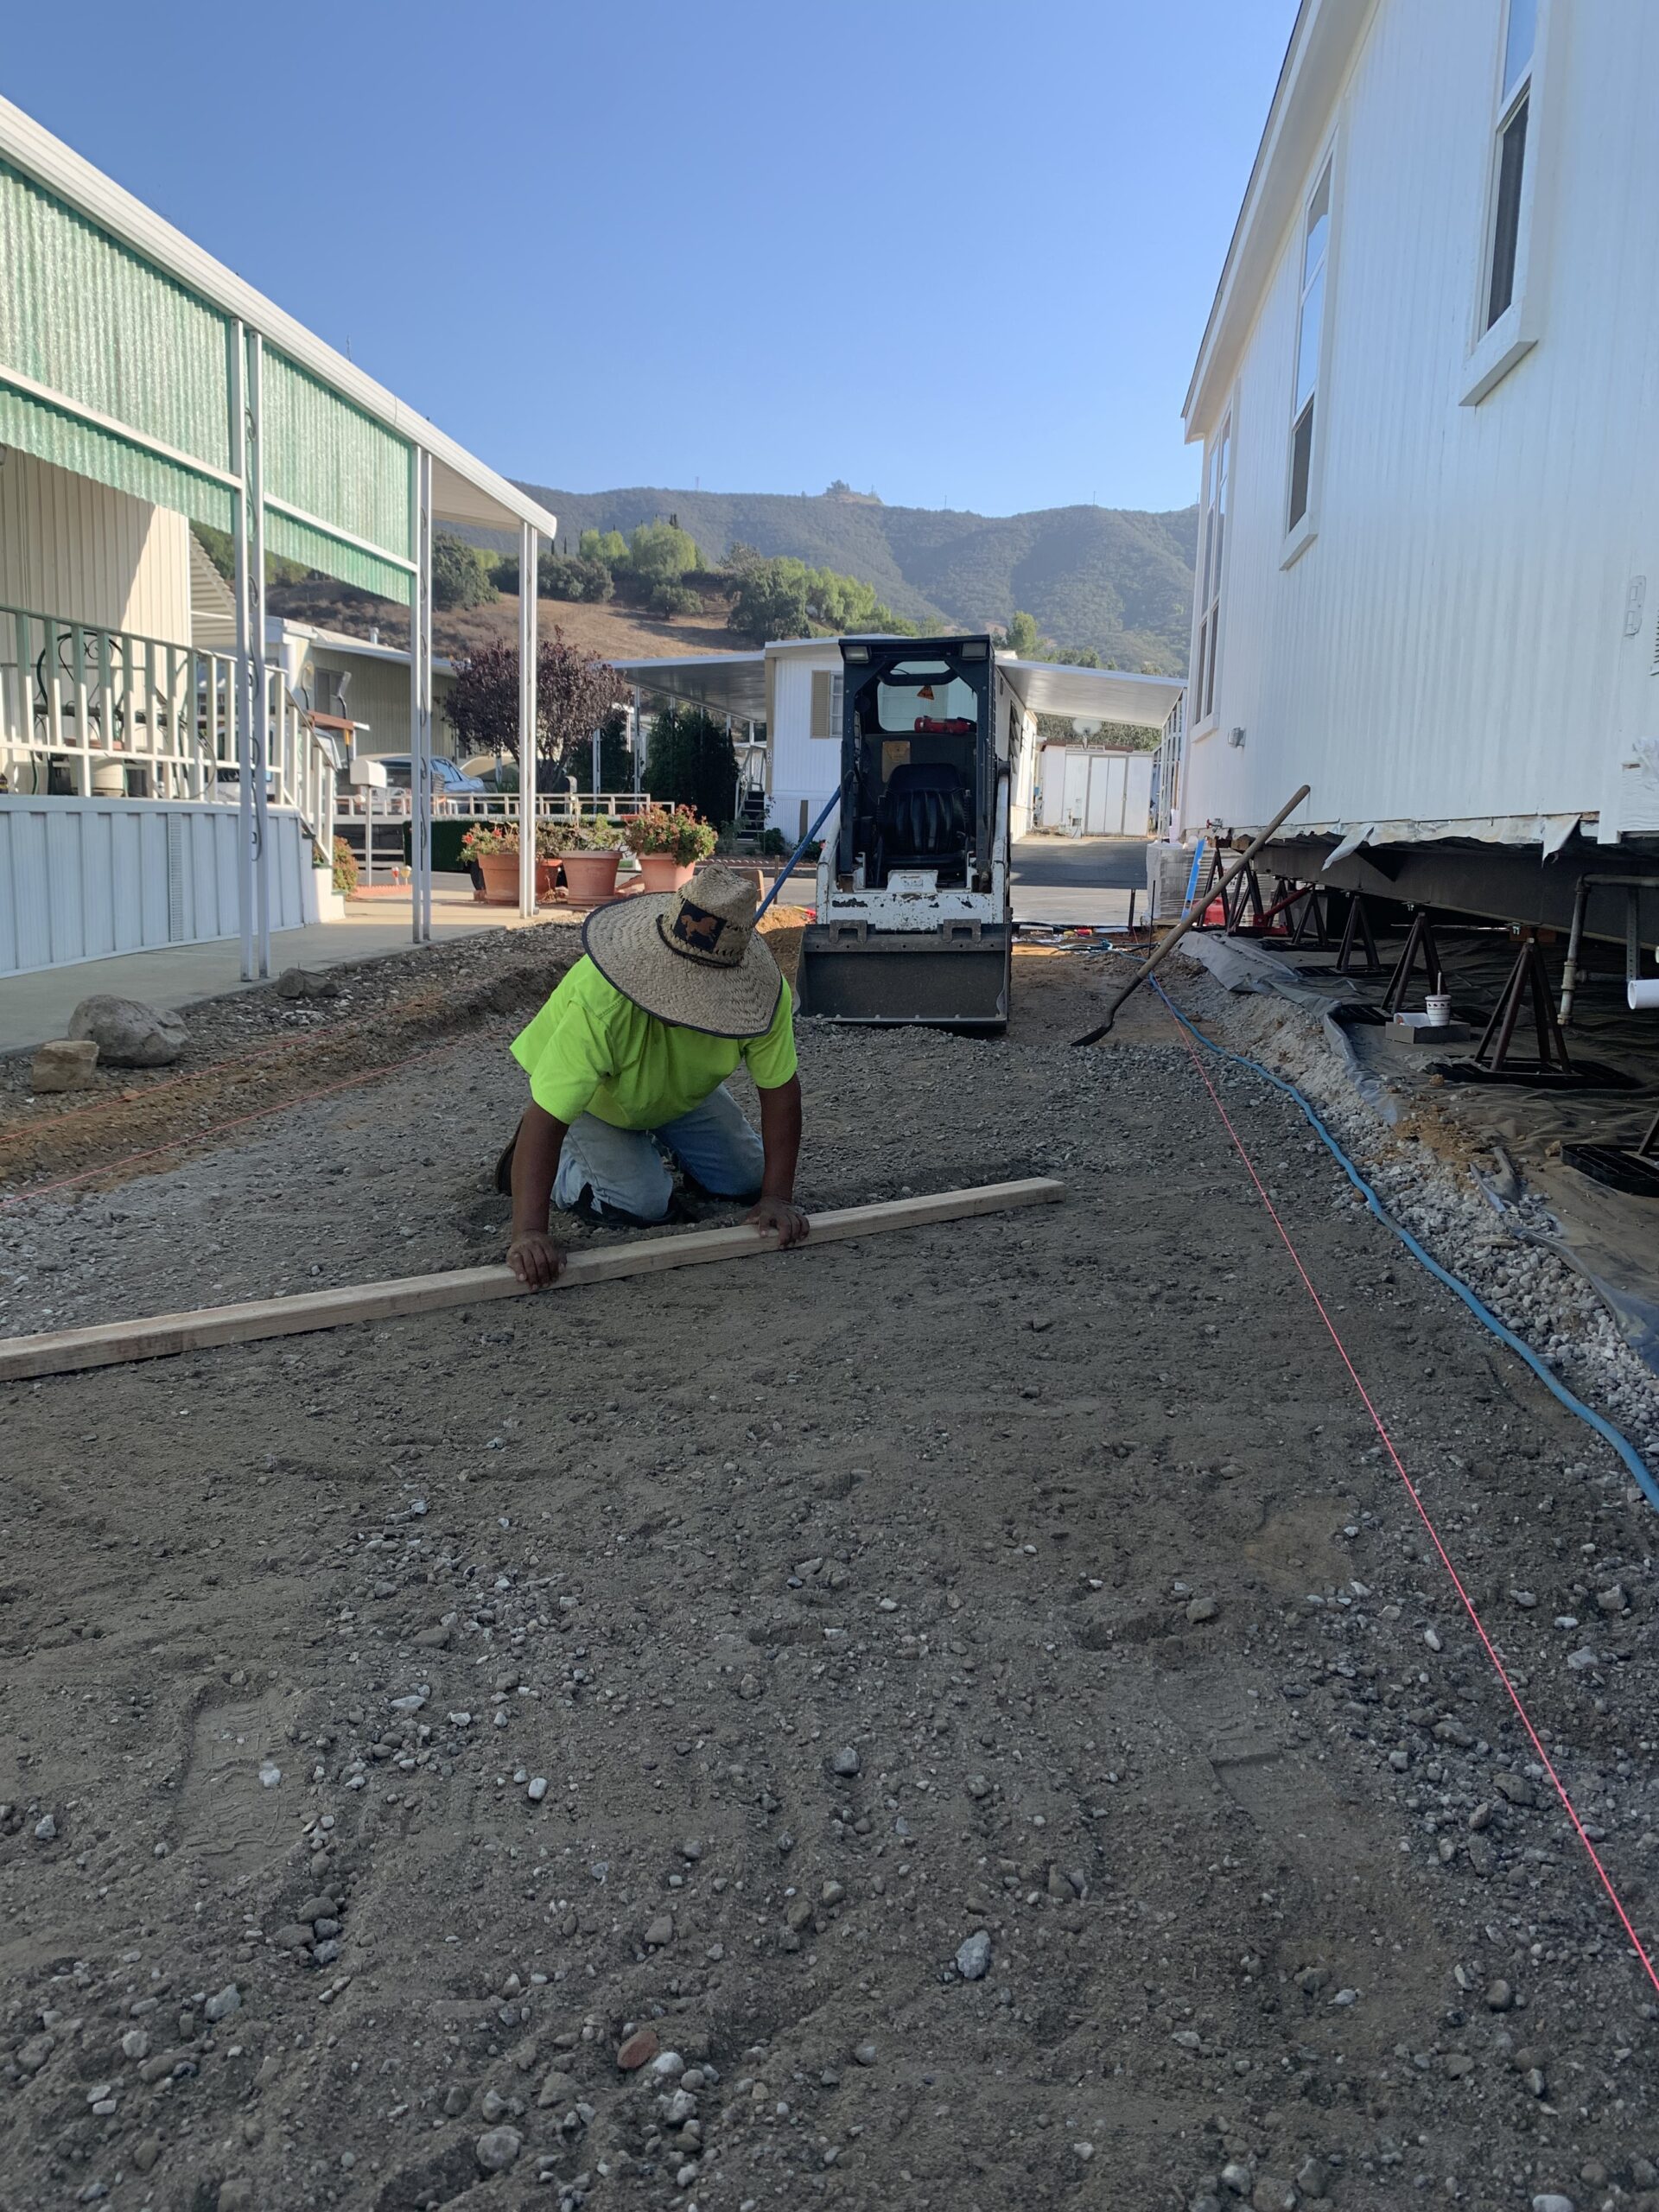
Once the specified area is excavated, we install 4” of class II road base. Next, the base is spread to match the specified slope using a 2x4 and string line.
COMPACTING
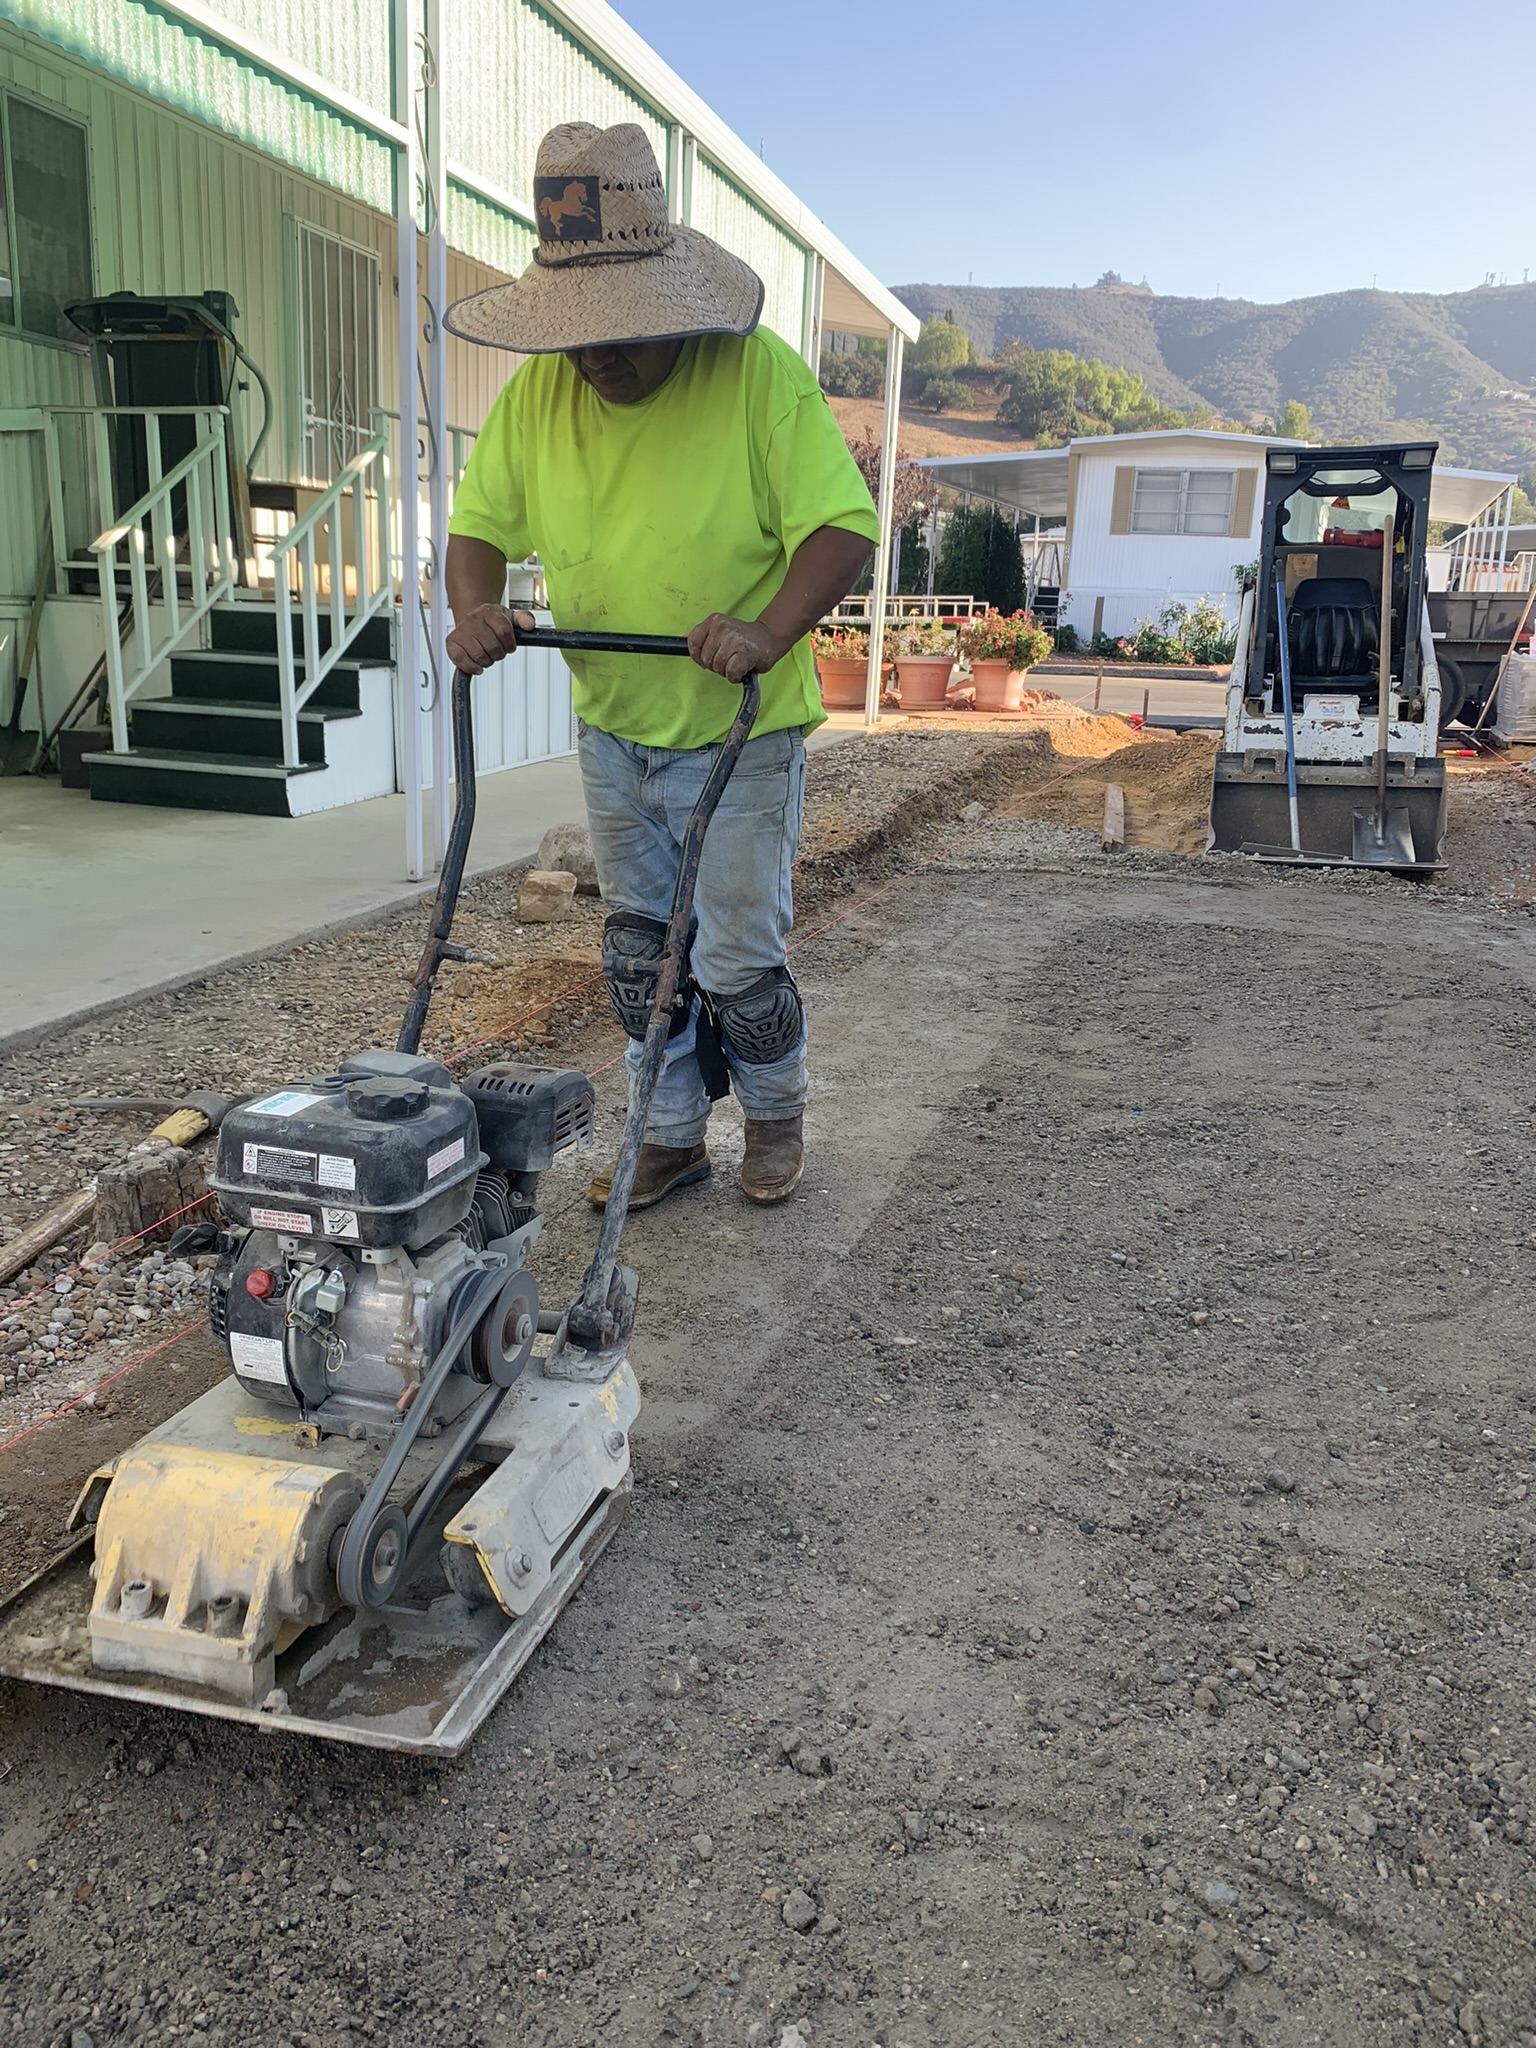
Once the base is spread appropriately, we use a plate compactor to compact the base to 95%. This usually takes 2-3 passes of the plate compactor.
LAYING PREP
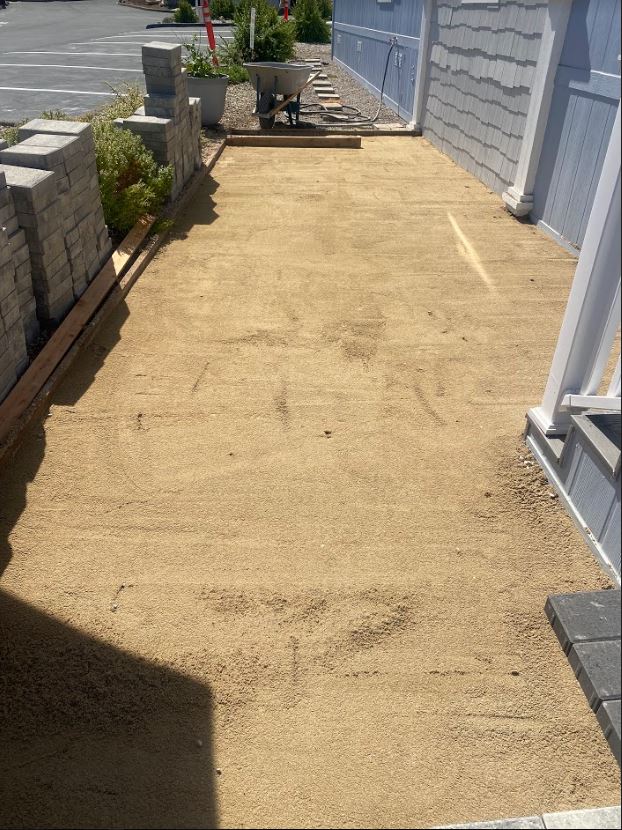
After the base is graded and compacted we install ¾ of an inch of washed sand. This is done to provide a perfectly smooth base to lay the pavers on. At this point the entirety of the base is complete and we are ready to start laying the pavers.
LAYING THE PAVERS
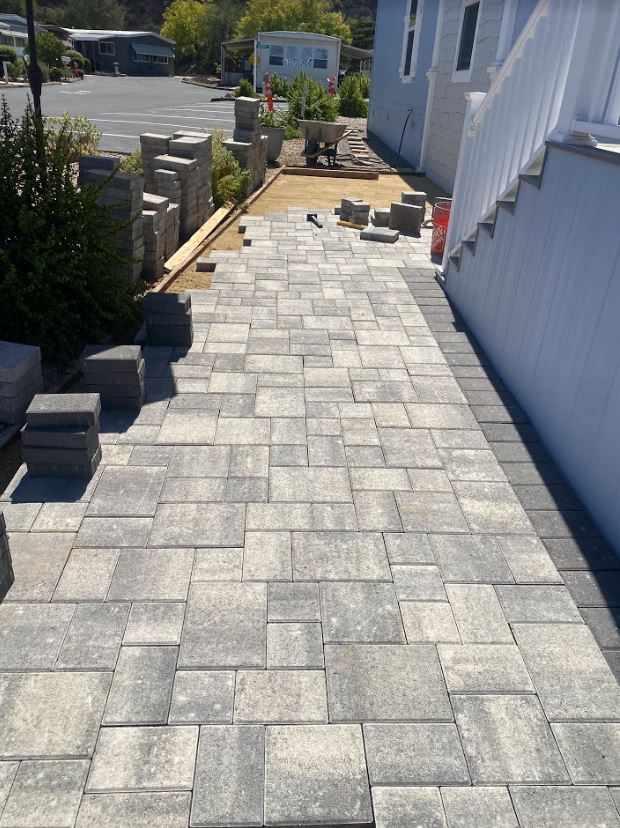
After the base is complete, we lay the pavers in the specified pattern and make any necessary cuts. After the pavers are laid we pull up any pavers that are not laid against the residence or any existing concrete or pavers. Next, we remove the road base and sand under the “borders” and re-lay the borders in concrete. This will keep the borders in place and squeeze the pavers that are laid in the field area.
JOINT SAND
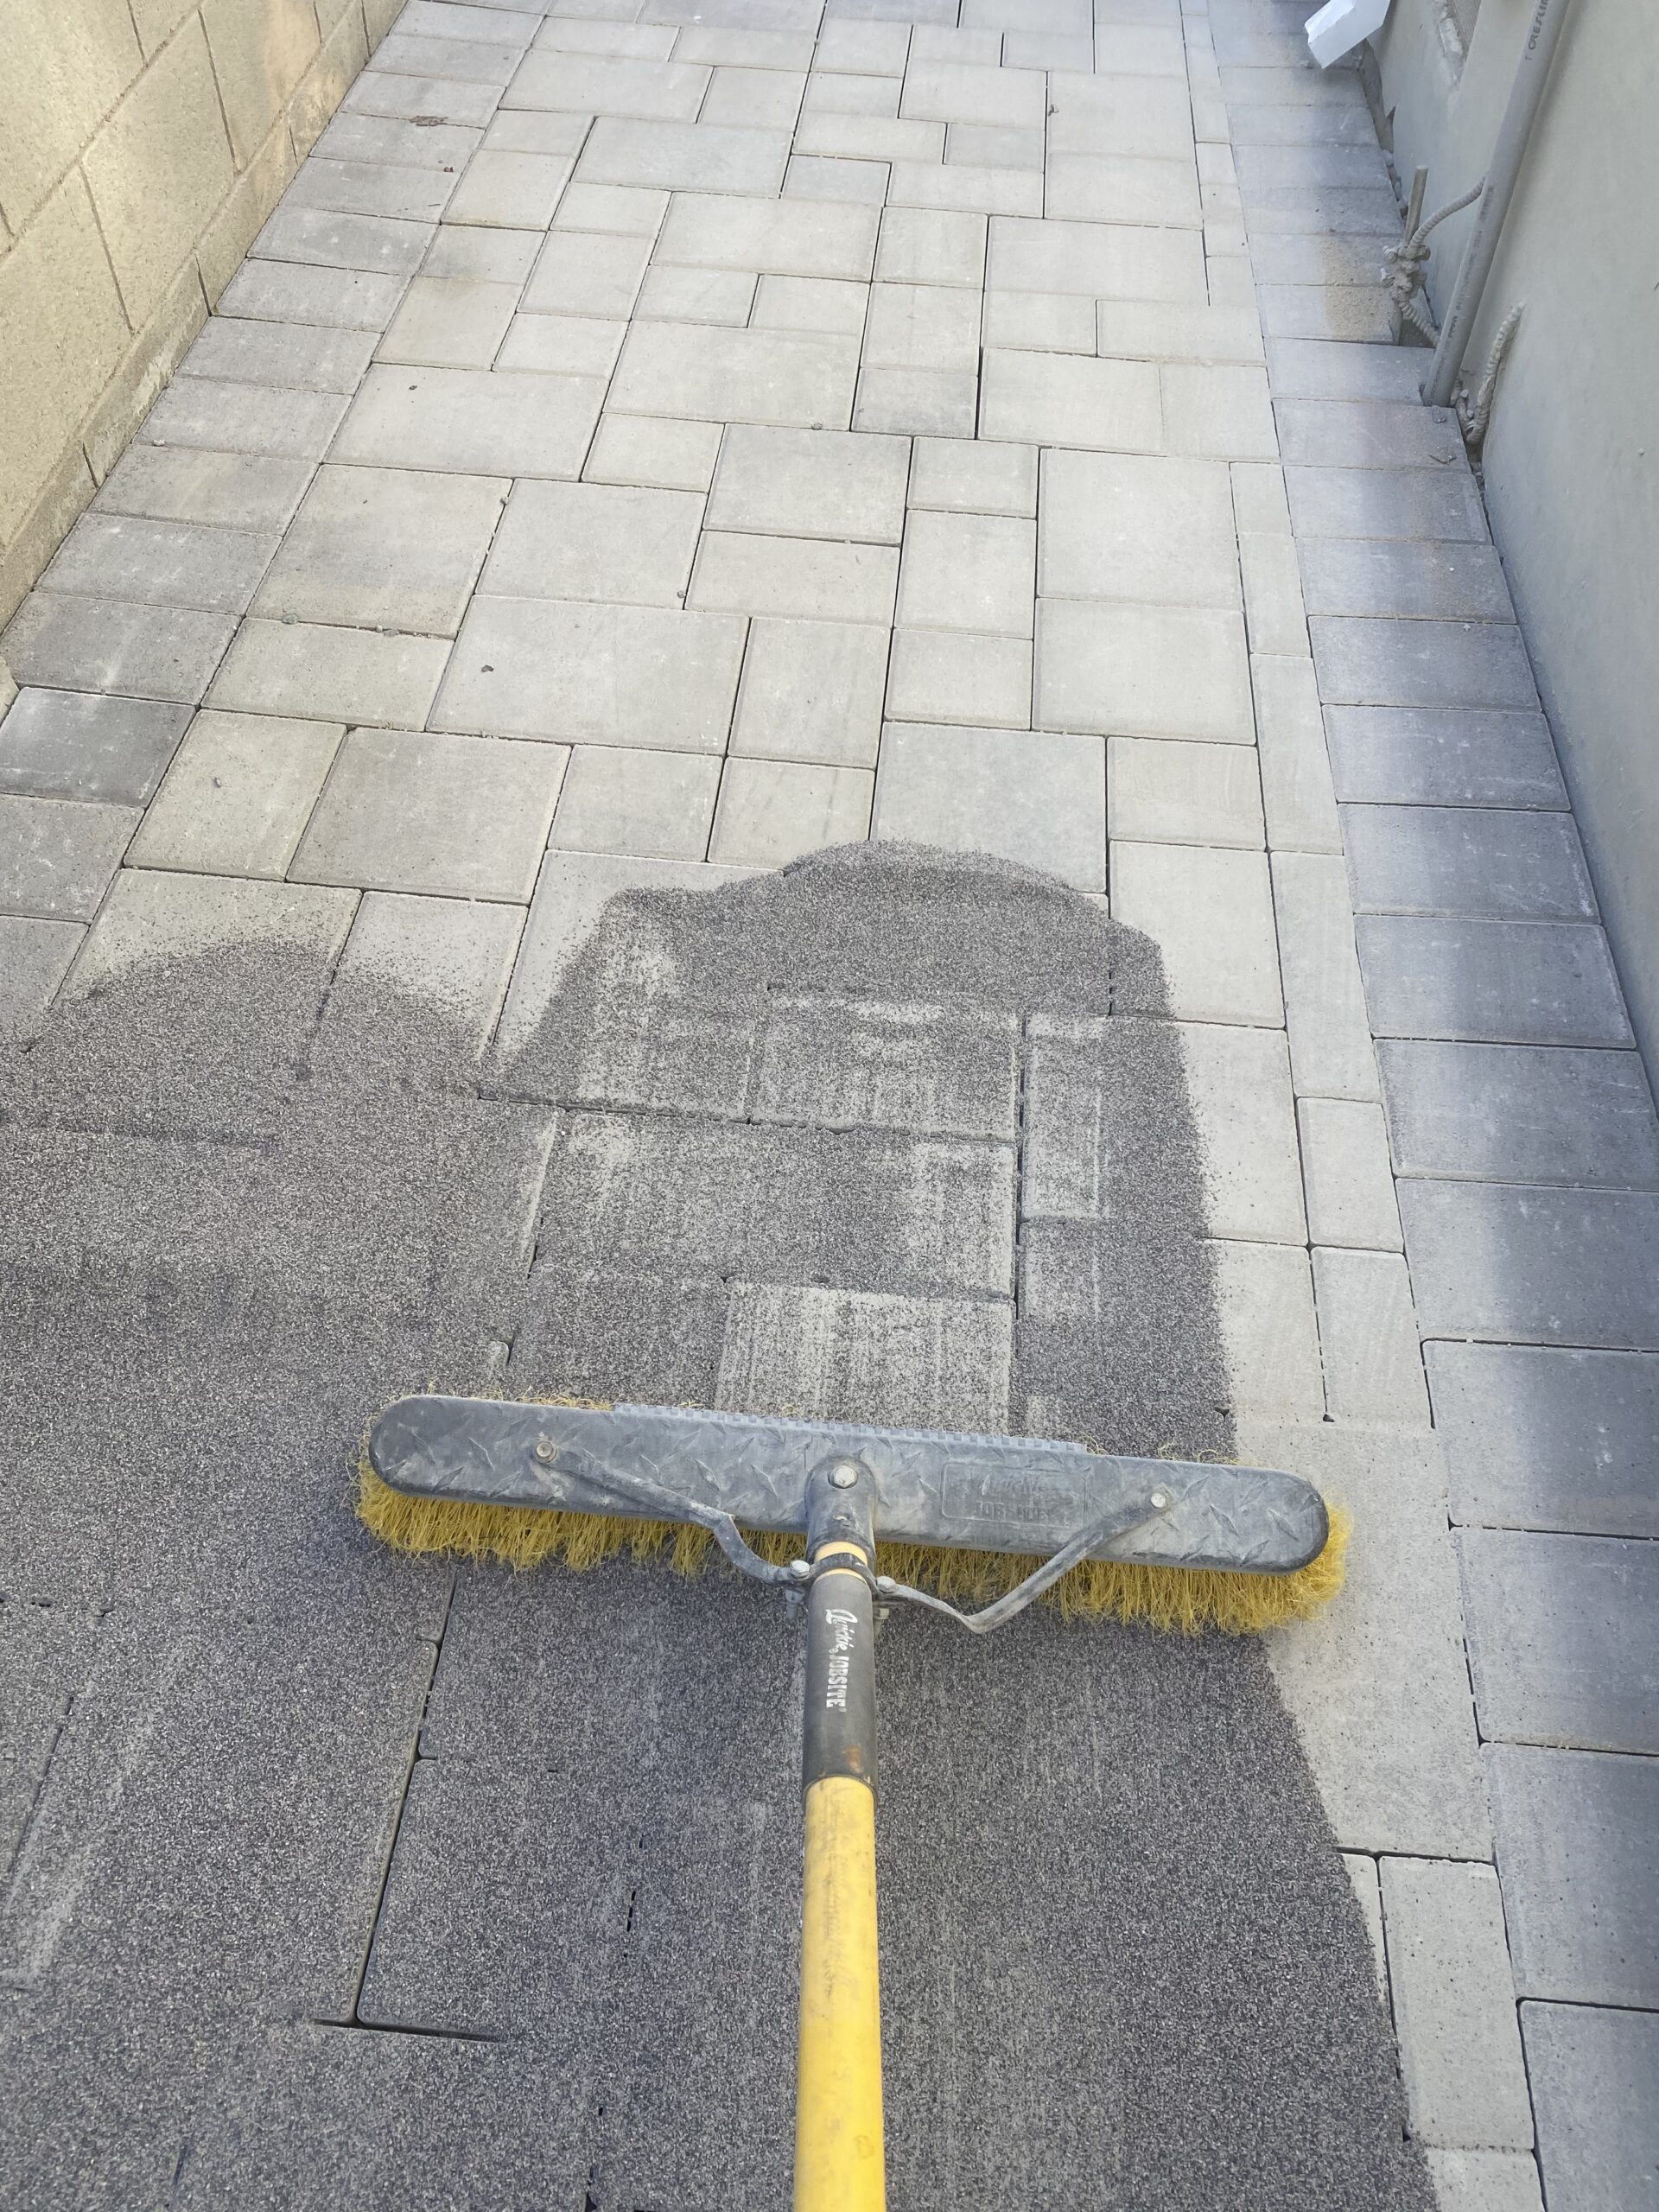
Once all the pavers are laid we brush in the polymeric joint sand. After the joint sand is brushed in we use a leaf blower to blow off any remaining sand. This is done to ensure there is no sand on the pavers, only in the joints.
RE-COMPACT
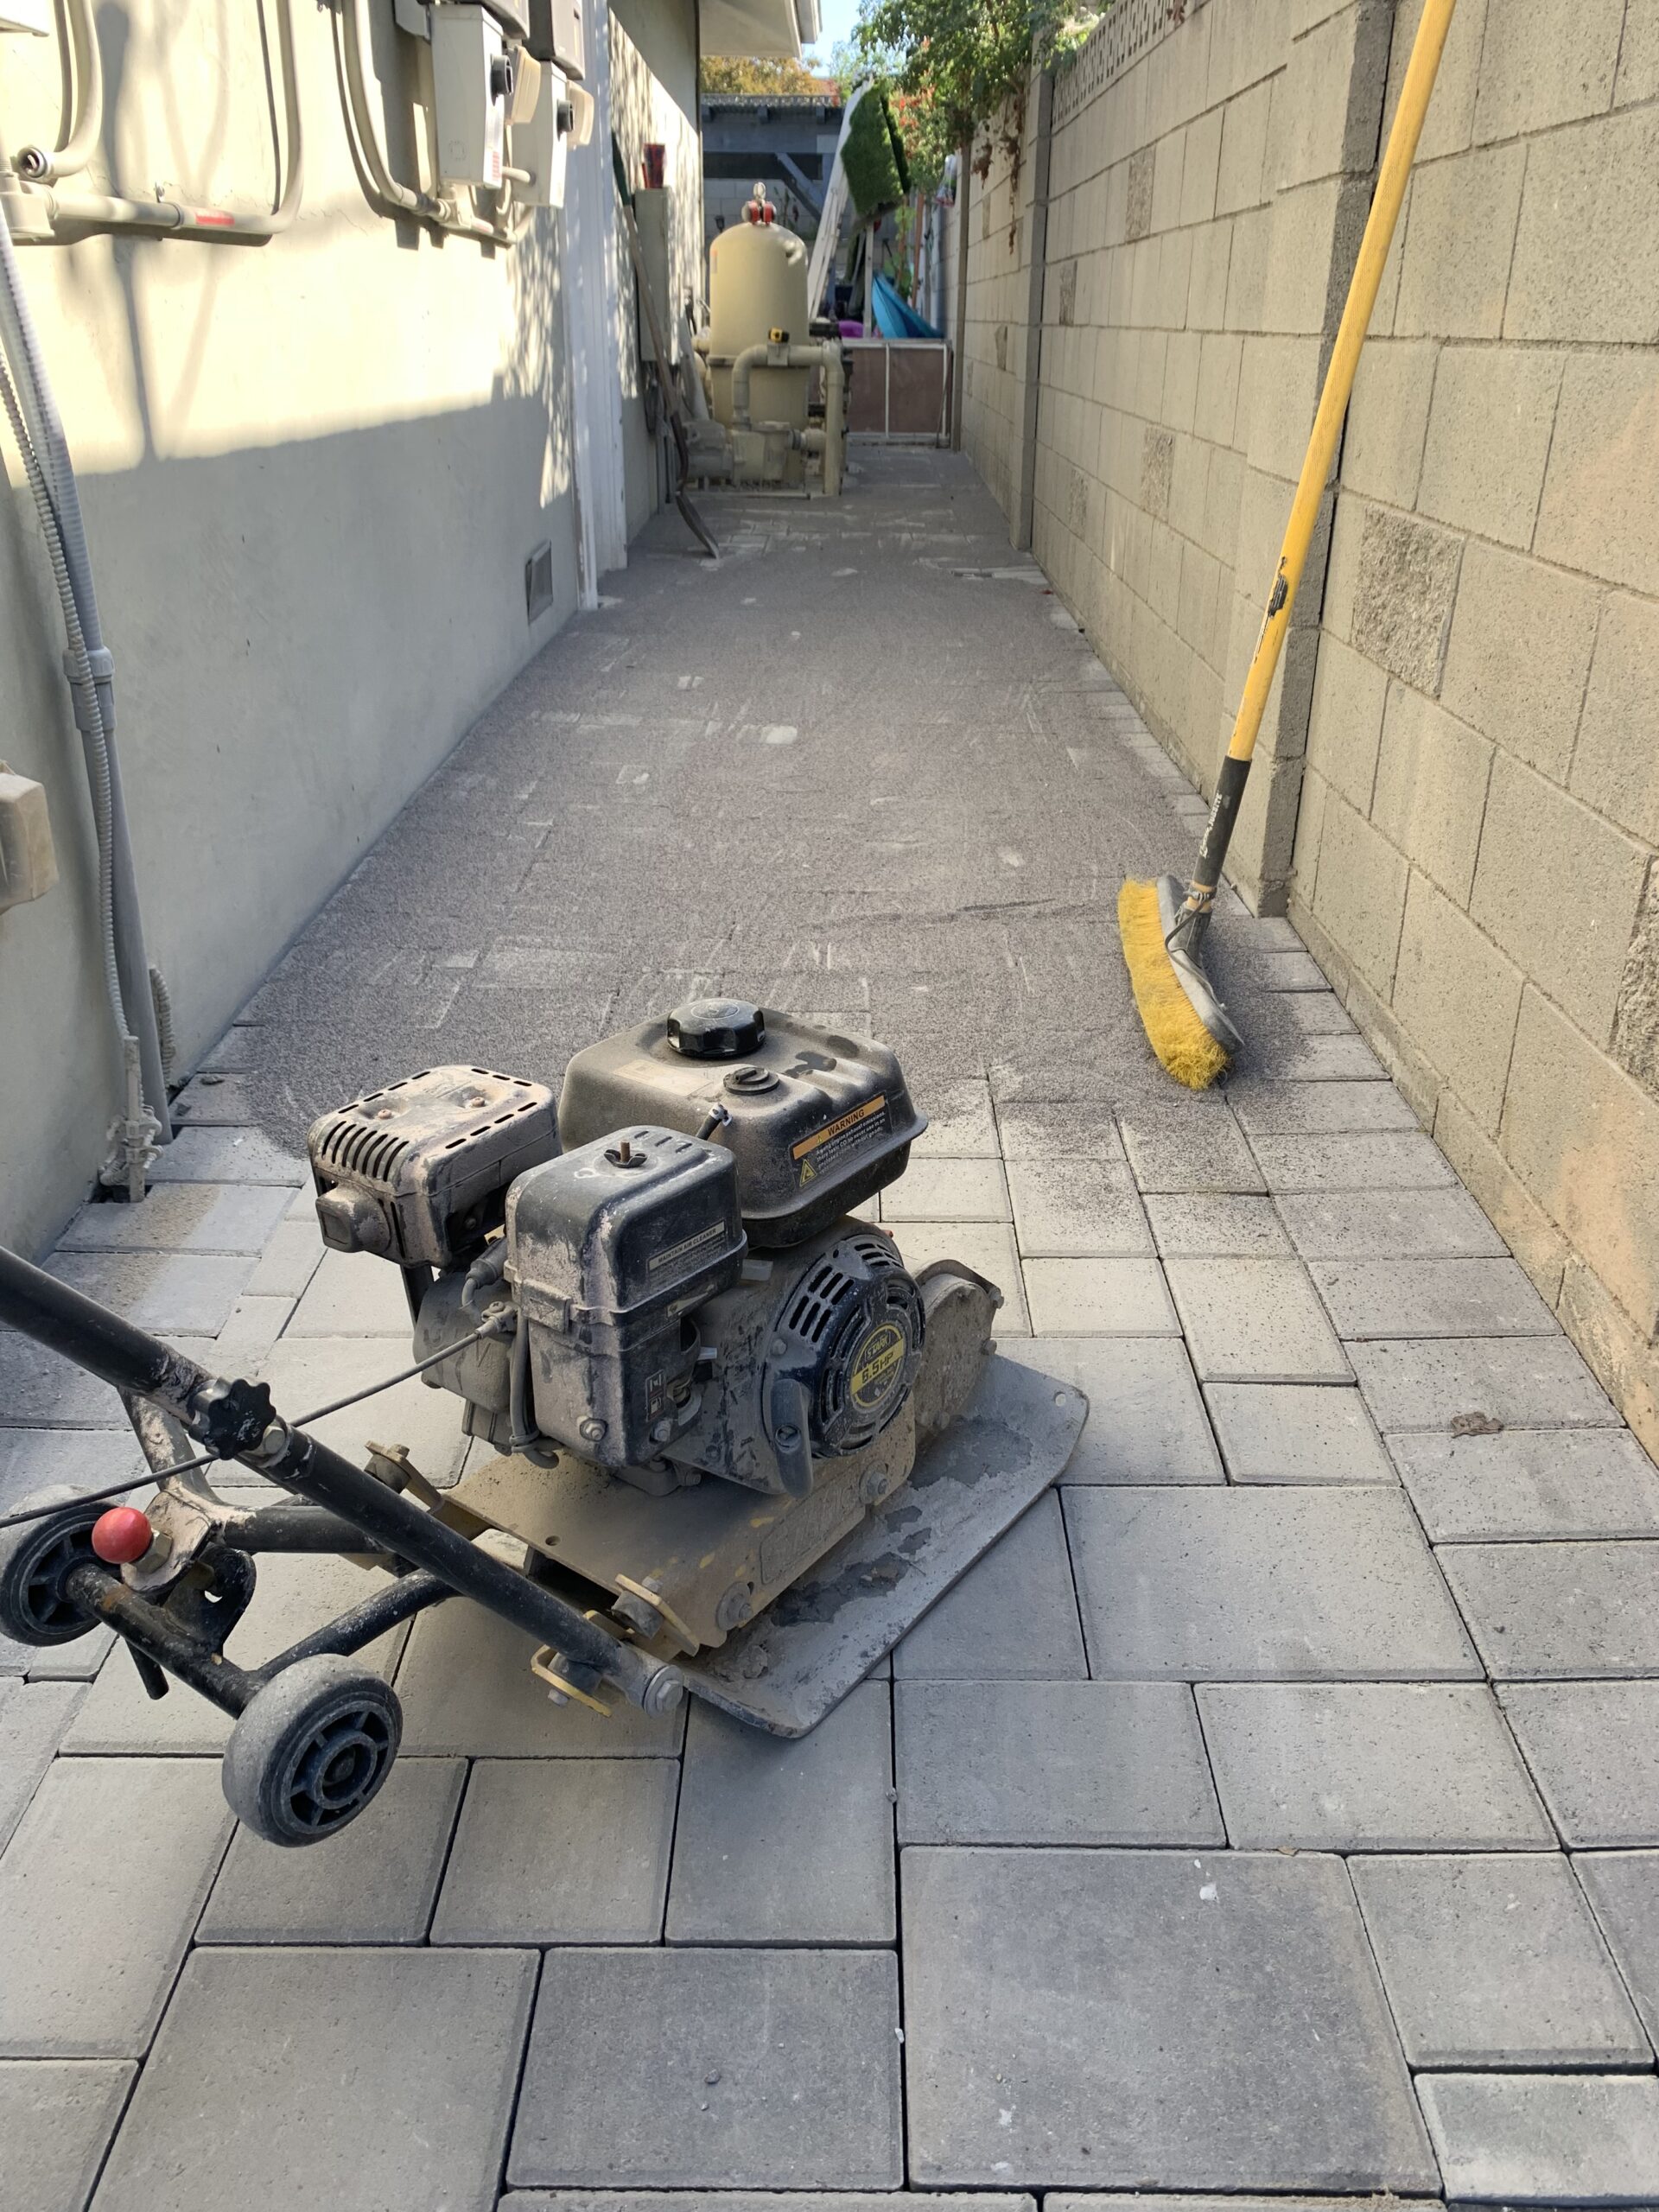
After all the sand is brushed in we re-compact pavers. This is done to vibrate the sand deeper into the joints and compact the washed sand under the pavers.
CURE
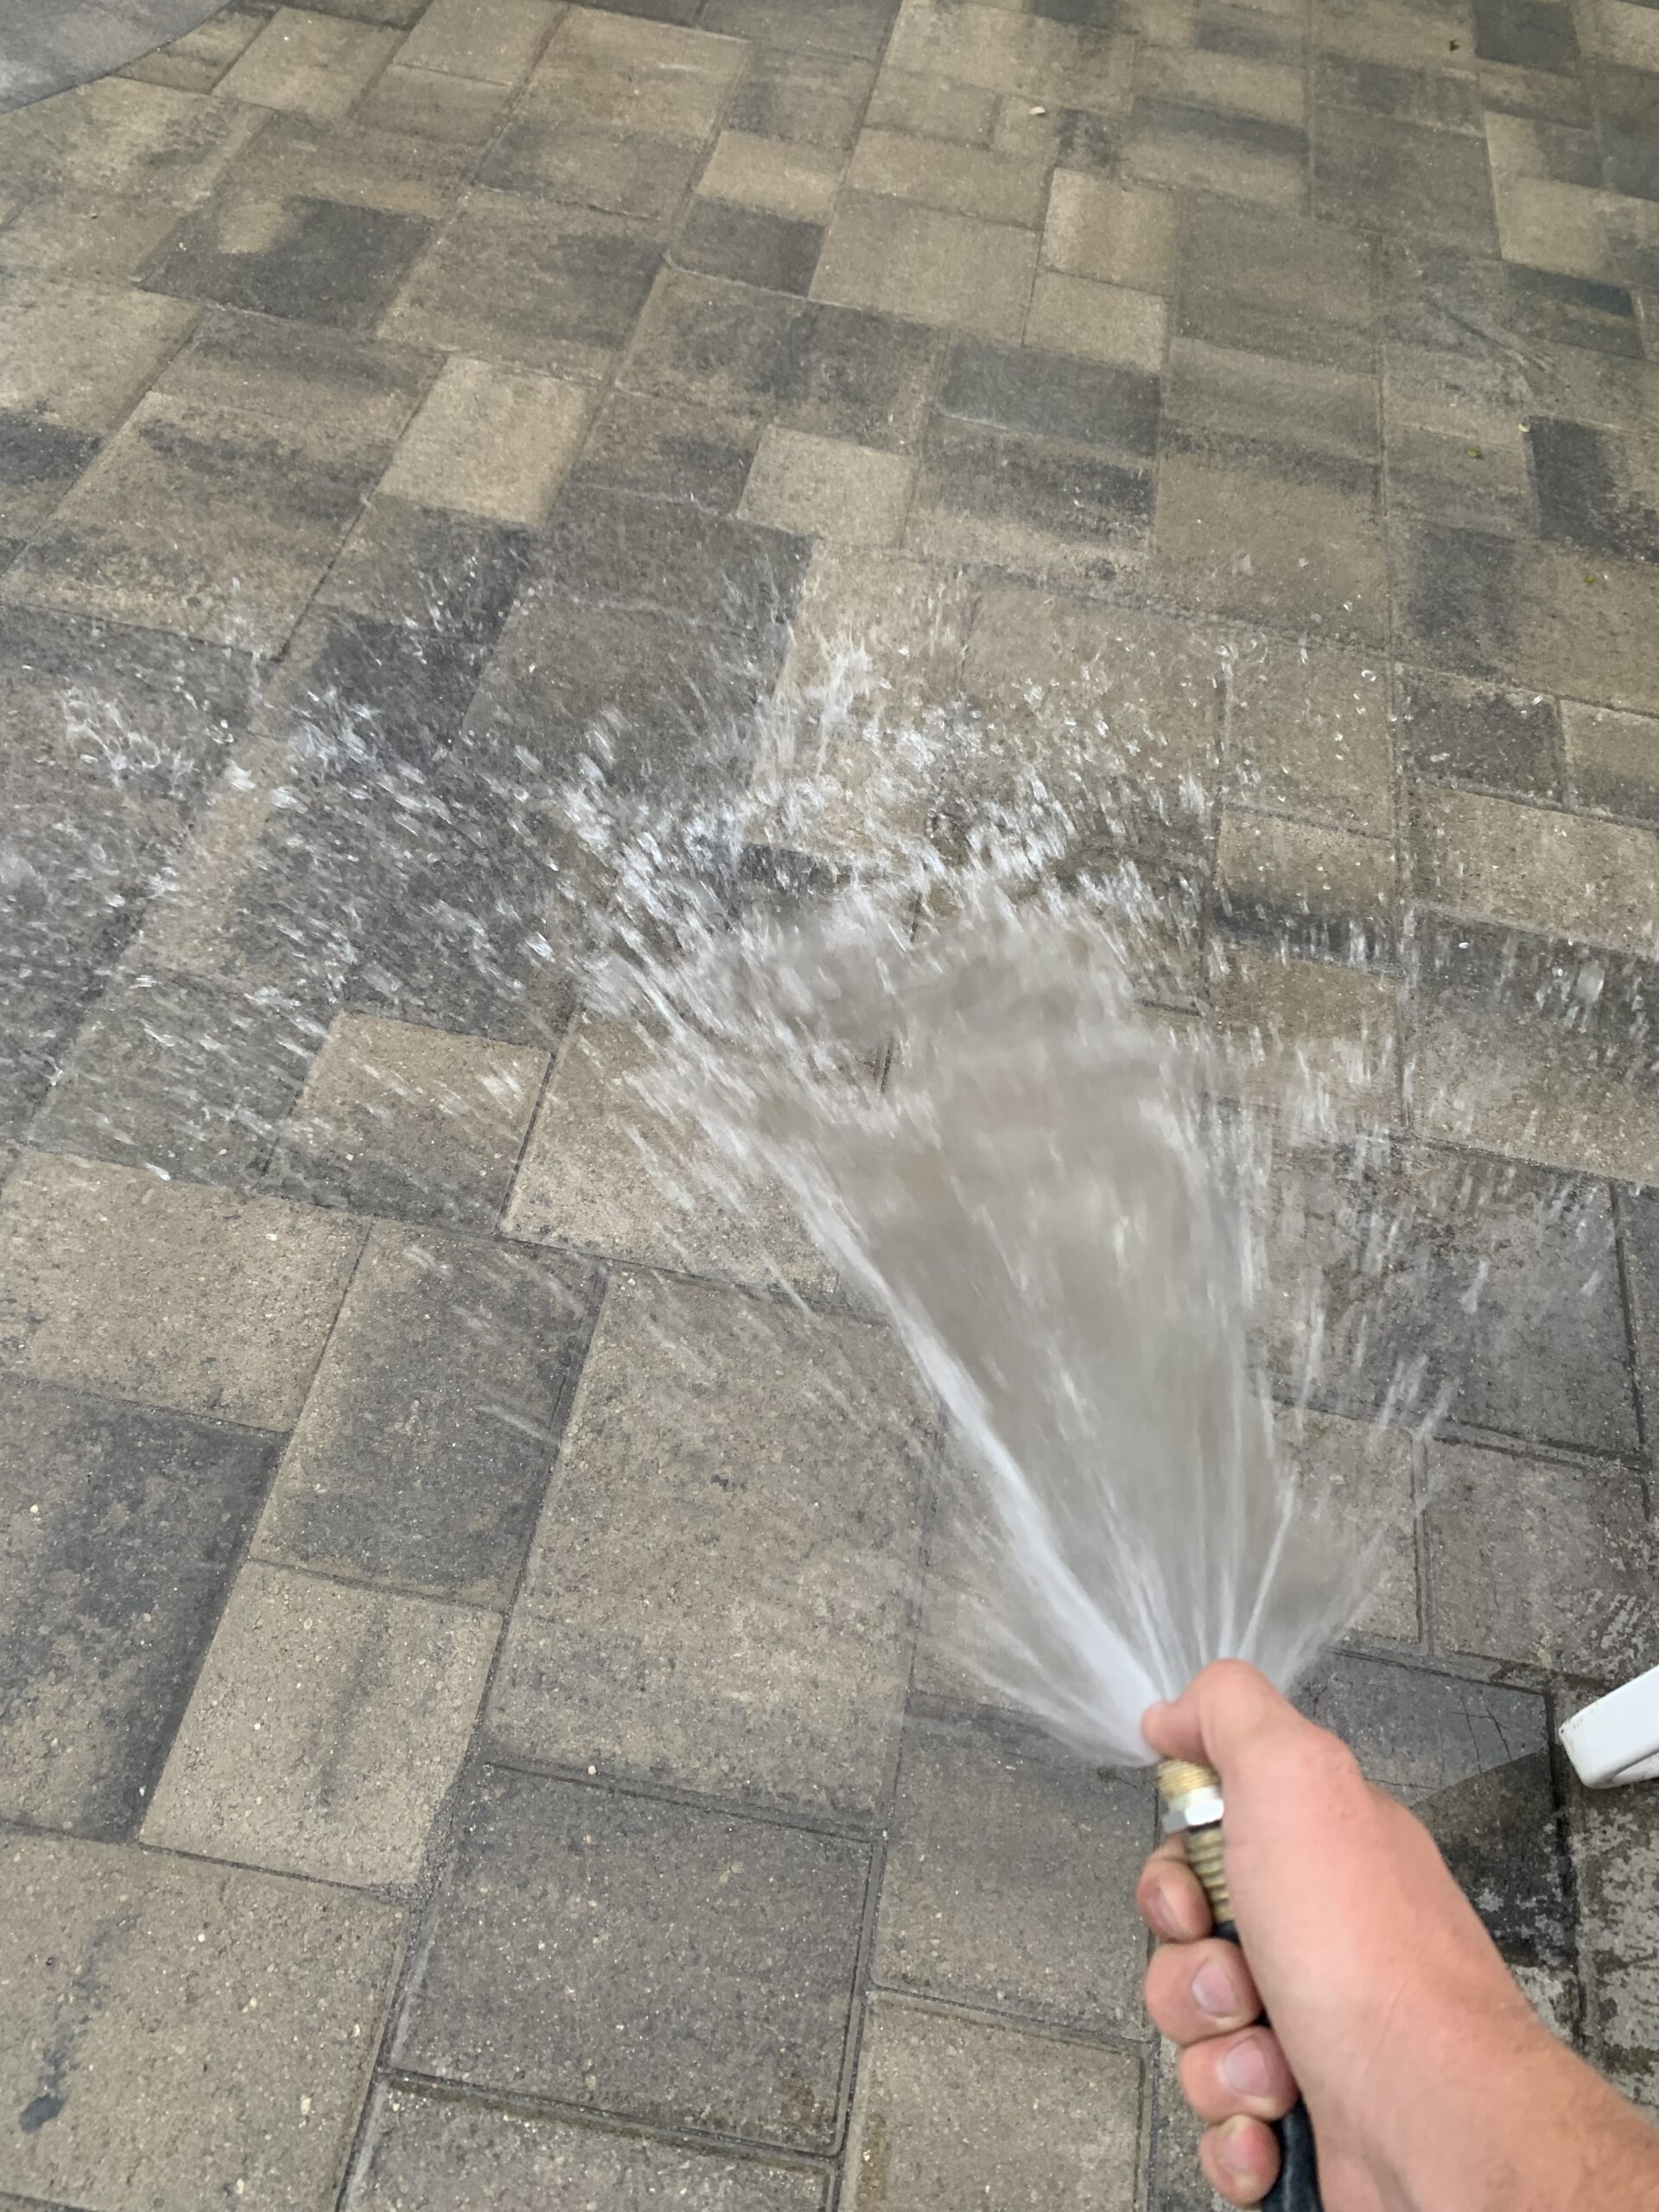
After the joint sand is installed we spray the pavers in order to cure polymeric sand. Once the sand dries it will turn into a coping-like consistency that will essentially hold all the pavers together.
